How to Configure New Profile in Outlook 2021, 2019, 2016 & 2013?

In Synopsis: Outlook is a widely used email client and personal information manager around the world today. Which helps users to manage their email, calendar, contacts, and tasks efficiently. When setting up Outlook for the first time or creating a new profile, it’s important to configure it correctly to ensure seamless communication and organization. So today in this blog post, we will take you through the step-by-step process to configure new profile in Outlook. So read this informative blog till the end.
Blog Content – Easy to Explore
Come, once we get a little information about Outlook. Then after that, we will move directly to the solutions part.
Microsoft Outlook – Short Overview
Microsoft Outlook is a widely used email client developed by Microsoft. It provides users with a comprehensive suite of tools to efficiently manage their email, calendar, contacts, and tasks. With its user-friendly interface and robust features, Outlook allows individuals and businesses to stay organized, communicate effectively, and streamline their daily workflow.
Whether sending and receiving emails, scheduling meetings, organizing contacts, or managing your to-do list, Outlook is a reliable and versatile platform for effective communication and productivity. It supports PST format as a data file.
Come, after knowing about Outlook, it is now time to go through the process and follow them to configure the new profile in Outlook. So below we have described all the solution step by step.
Also Read: How to Create PST File in Outlook 2016, 2013, 2010, 2007?
Configure New Profile in Outlook – Simple Steps
In this tutorial, you will learn how to create a new Outlook profile in Outlook and all its versions. Because there are many Outlook versions available like v2021, v2019, v2916, v2913, v10, etc. So follow the below steps carefully to configure a new Outlook Profile successfully.
# 1: Setup New Profile in Outlook 2021, 2019 & 2016
Now in this part, we will talk about how to configure new profile in these three versions of Outlook 2021, 2019 & 2016. Because the steps of these three variants are similar, there is no difference, so let’s go through the steps mentioned below to do Porfilv step by step:
- Open the Control Panel (From Windows 8.1 onwards suitable click on Windows and select control panel).
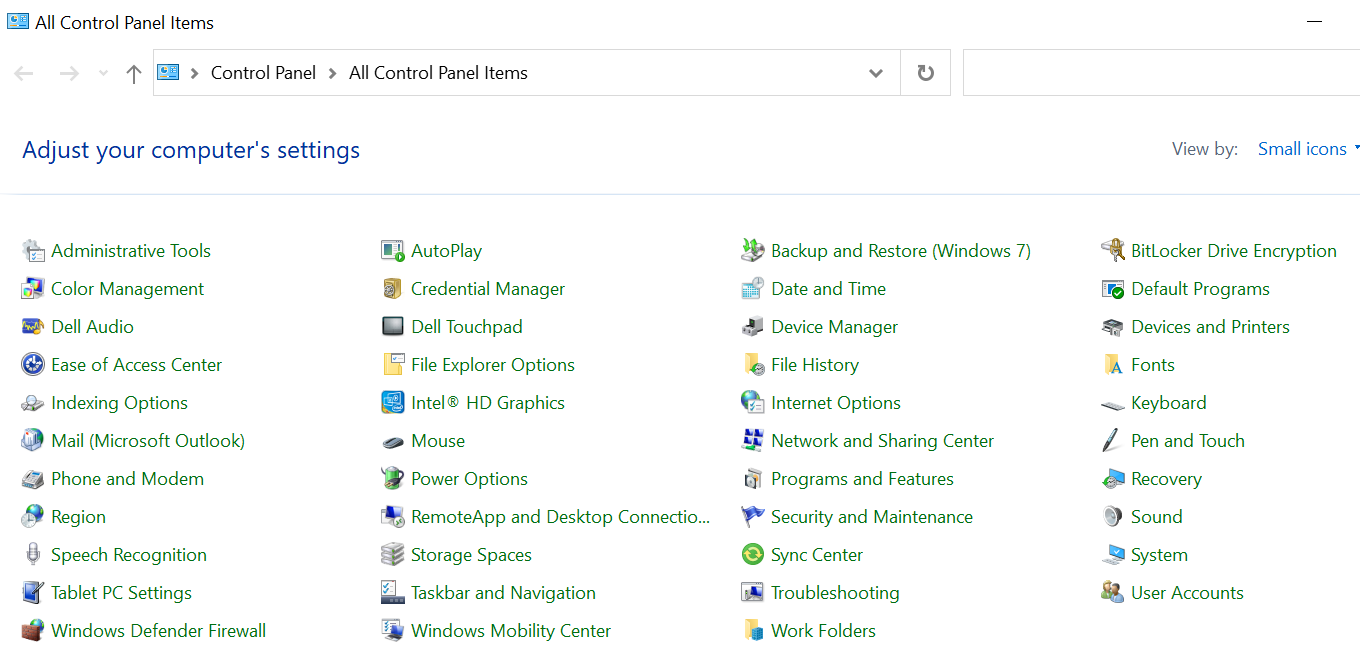
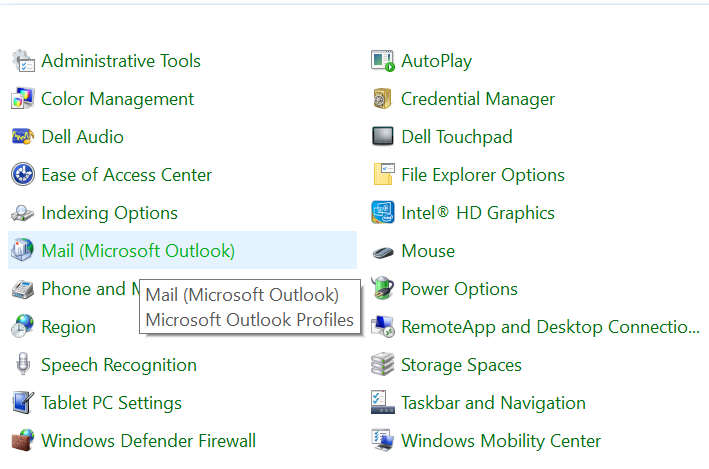
- Then Search for Mail Applet using the search bar.
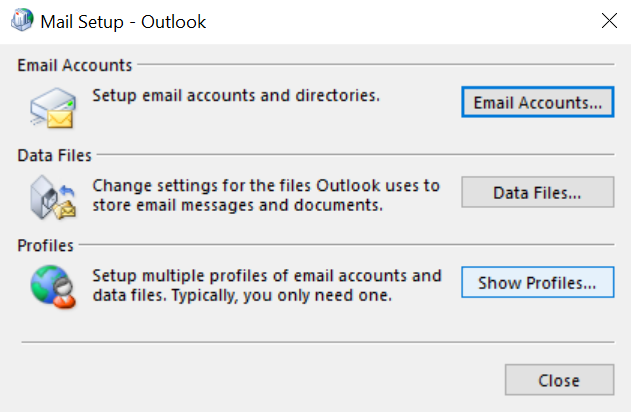
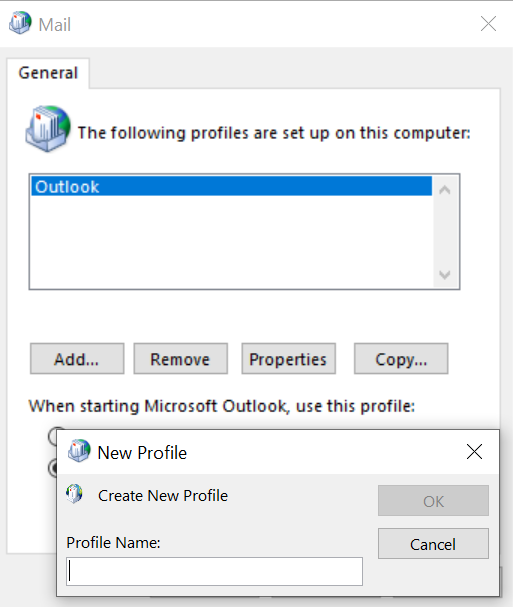
- Click Show Profiles.
- Type Name for Your Profile.
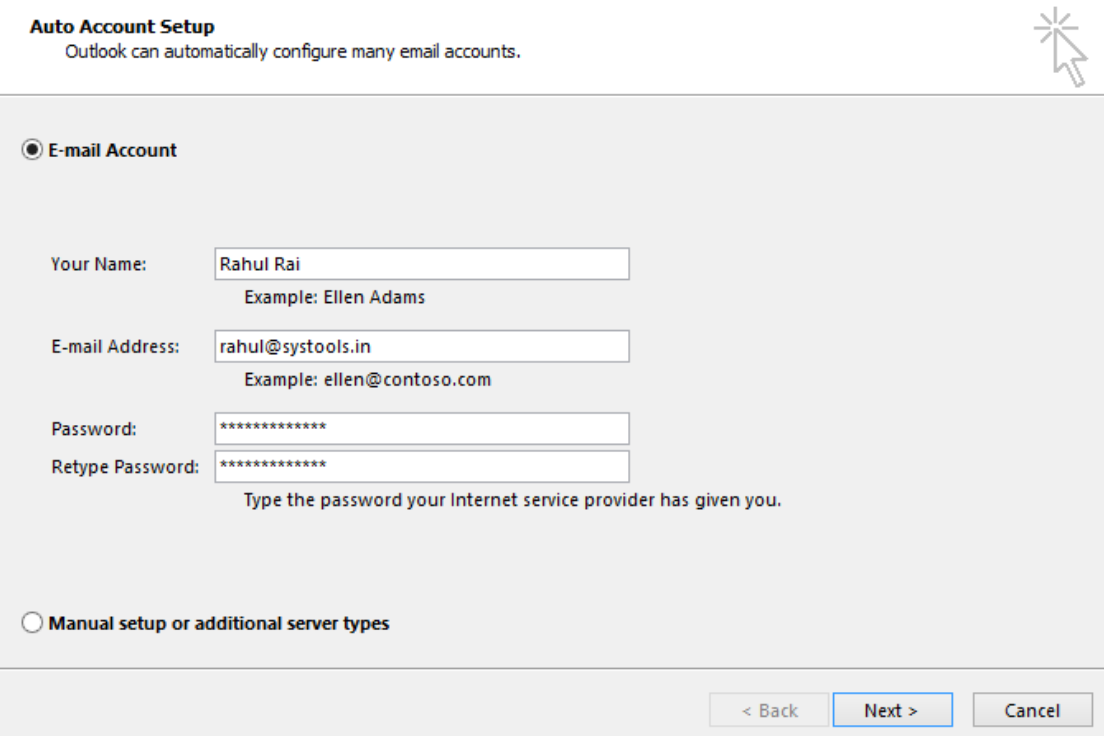
- From the Outlook Version, 2007 and later provides extensive support to “AutoDiscovery”. If you choose that option then your account is automatically setup.
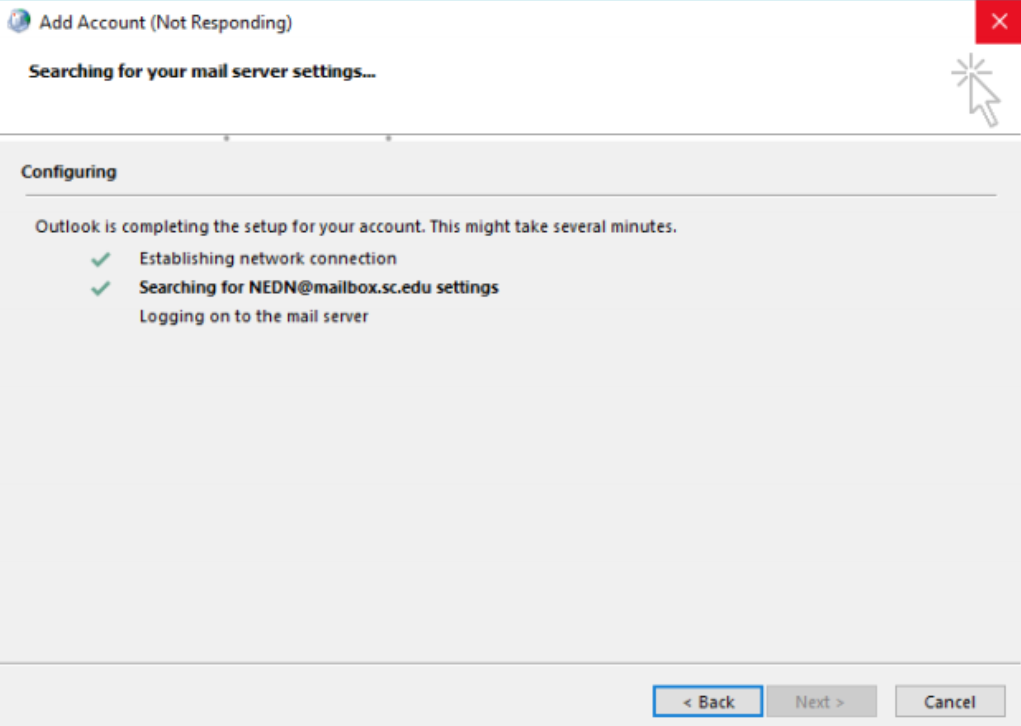
- Type Your Name, Email Address, and password. After that, Your profile will automatically be set up.
- After the completion of the Auto setup of the email account, If you want to use existing pst file the click on Manually configure account settings.
- If the auto-discovery method fails. Then in such case, you will have to create the profile manually.
- For the same, you will have to provide the account information such as account type, and email server names.
- Test the entered settings by clicking on the Test Account button. If it fails then check your settings again.
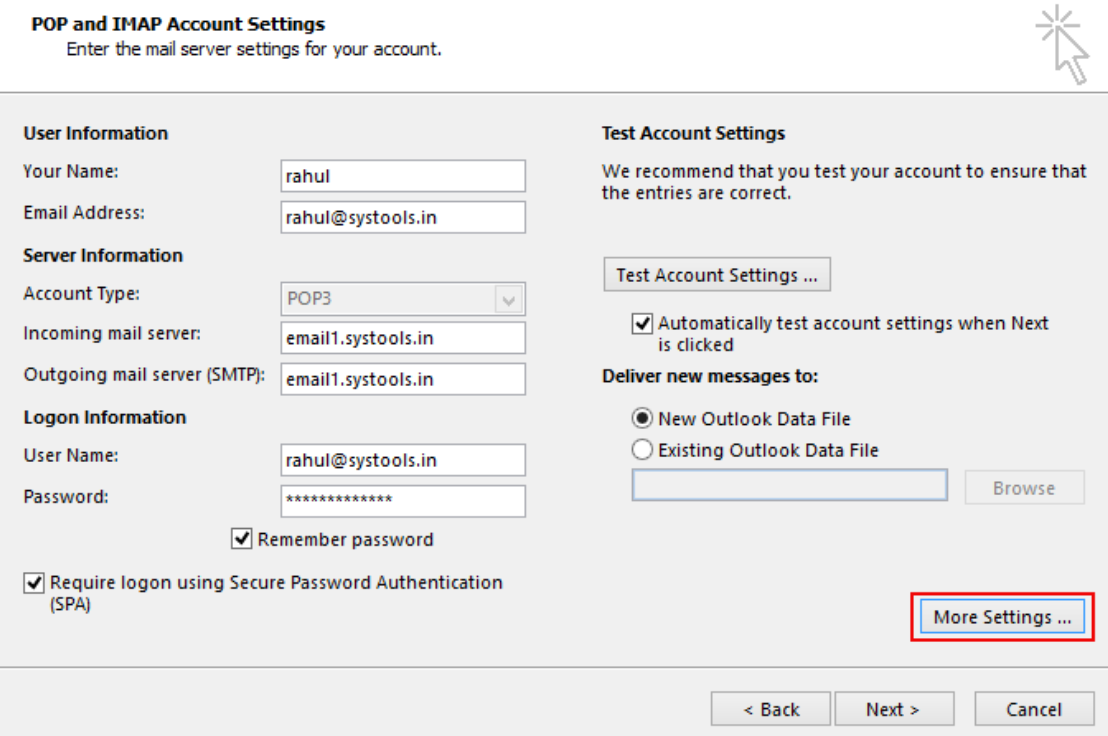
- In most ISP service provider needs authentication to send outgoing mail. For this click on More settings.
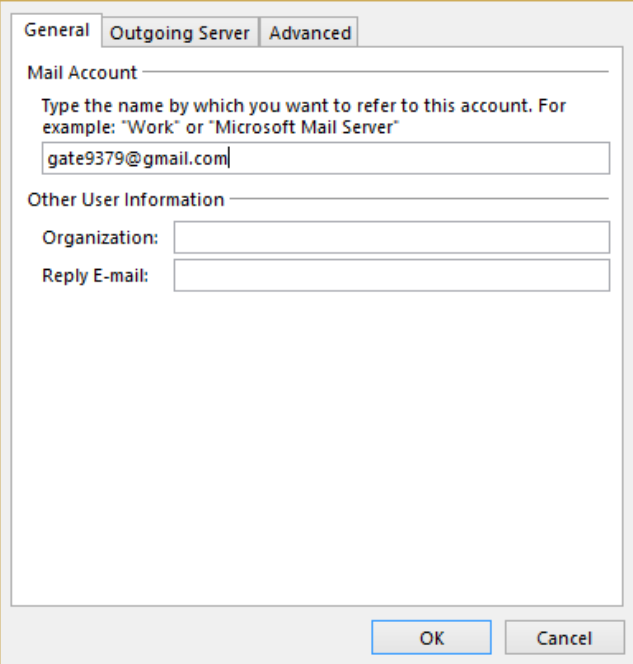
- More settings allow you to set up a reply address, and configure outgoing server authentication, and connection information. For custom server ports and timeouts, use the Advanced tab.
- When you complete the configuration of the Outlook profile. Close the profile and set up the dialog box. The Click on Outlook icon to launch it.
After knowing how to set up Outlook Profile in Outlook 2021, 2019. Now let us move further down to know the method of profile aggregations in 2013 versions of Outlook.
# 2: Configure New Profile in Outlook 2013
This part will explain all the steps to configure a profile in version 2013 of Outlook. Also, this step is divided into three parts. So follow the steps mentioned below:
1: Add a New Profile
- Open MS Outlook on your system.
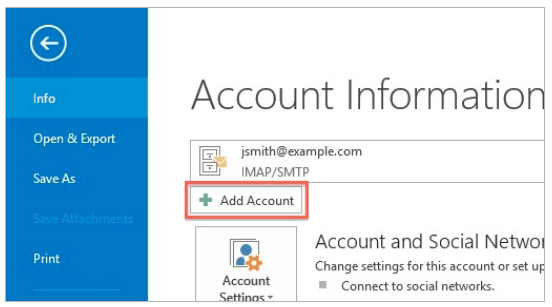
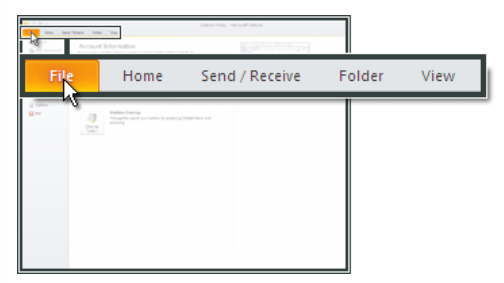
- Now, click on the File menu and then select the Info button.
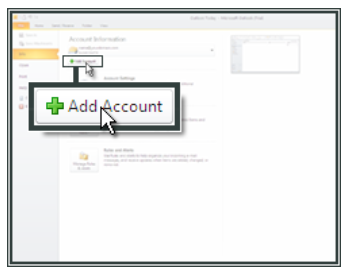
- After that, hit on Add Account option.
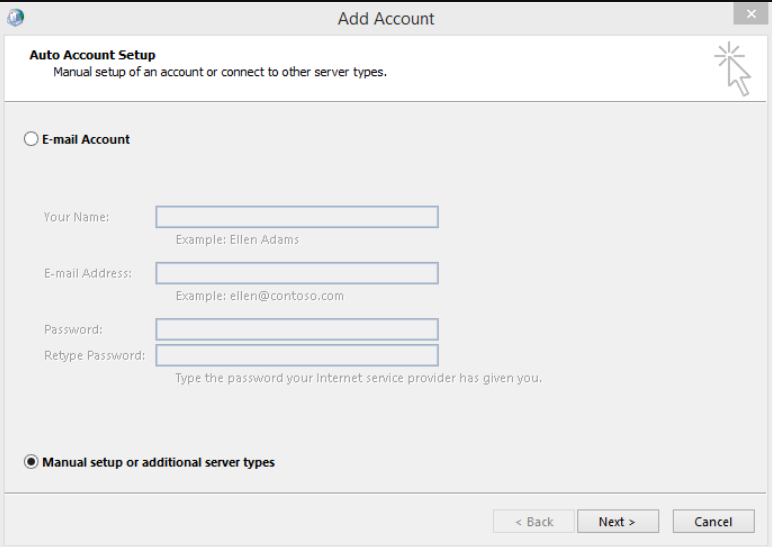
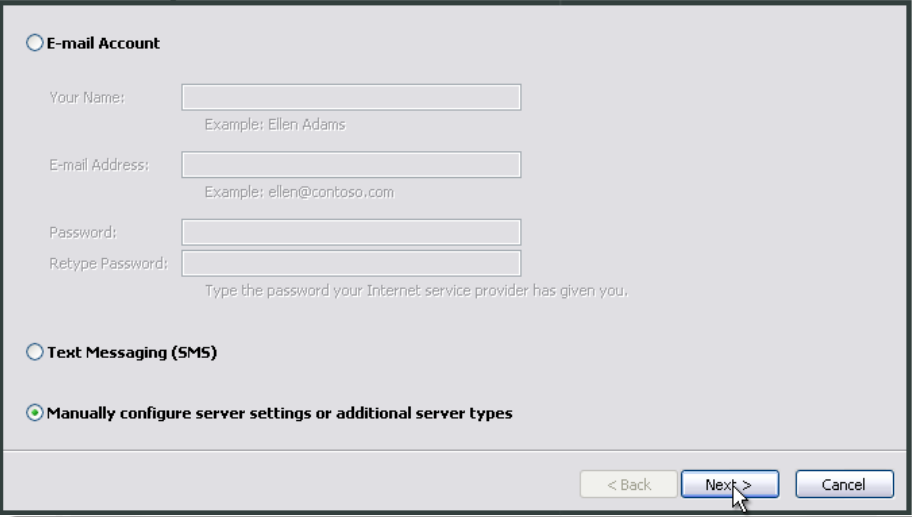
- Now, press on Manual setup or additional server types.

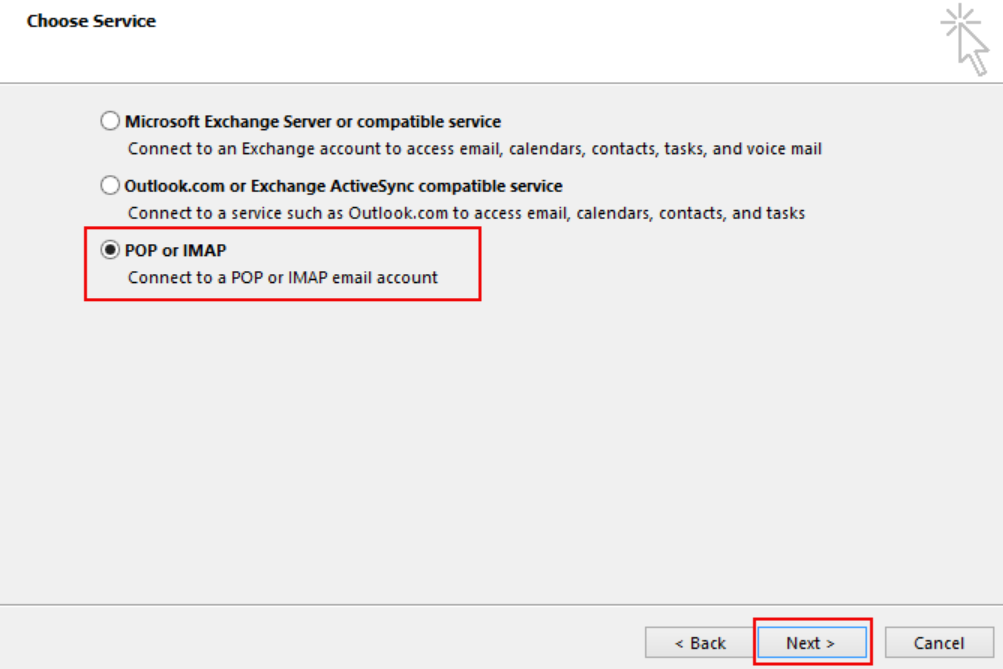
- Select the POP or IMAP option.
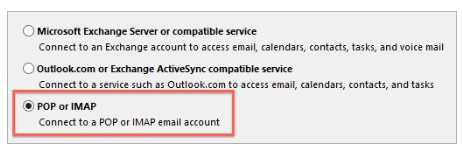
- Then, hit on the Next button.
2: Account Adjustments
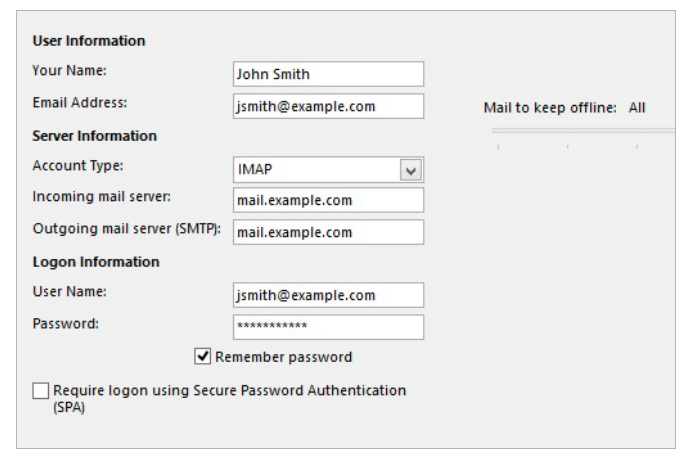
- Your name: Type your name exactly as you want it to appear on outgoing emails.
- Email: Type your email address here.
- Type: Click and select IMAP or POP from the drop-down menu. We recommend IMAP.
- mail.example.com, where example.com is your domain name, is the mail server address.
- Username: Please re-enter your email address.
- Enter your email password as the password.
- To remember your password, tick the box.
3: Configuration Options
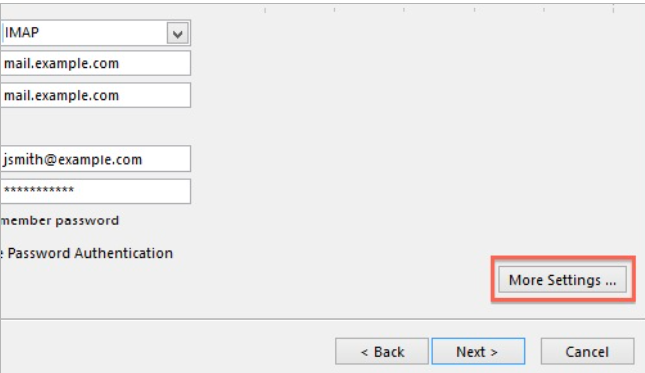
- Select More Settings from the menu.
- Go to the Outgoing Server tab after that.
- After that, make sure the My outgoing server (SMTP) requires an authentication box is checked.
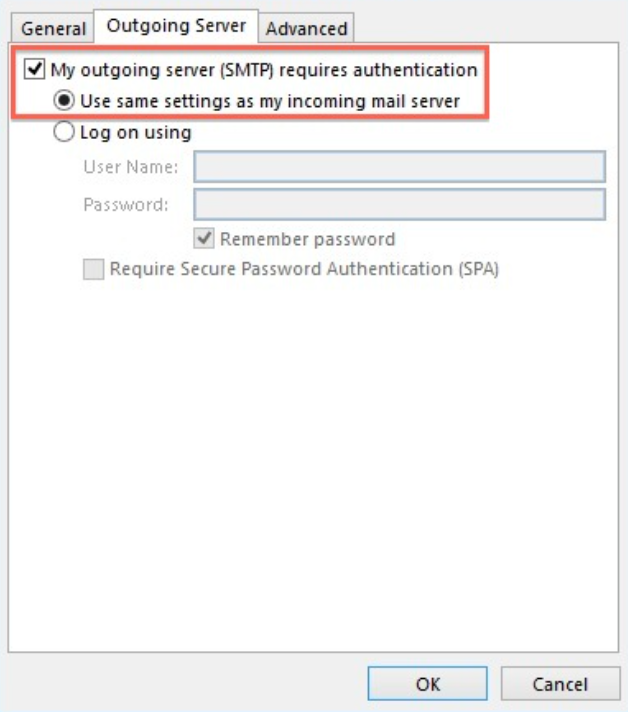
- Verify that it is configured with the same settings as your incoming mail server.
- Activate the Advanced tab.
- Choose the OK option.
- Click the Next button on the E-mail Accounts window to continue.
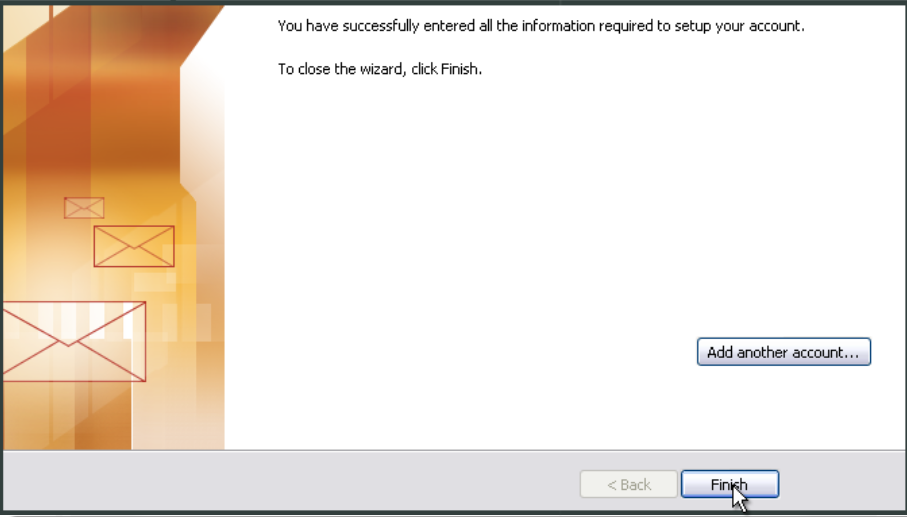
- Select Finish from the menu.
If you are familiar with how to set up your Outlook profile in Outlook 2013. Let’s go on to the next section to see how Outlook 2010 handles profile aggregations.
# 3: Register New Account in Outlook 2010
In this part, we are going to discuss the steps to add an account in Outlook 2010. So, follow the below-mentioned steps to start the setup process.
- Open Outlook, then select the File option.
- Add an Account by clicking.
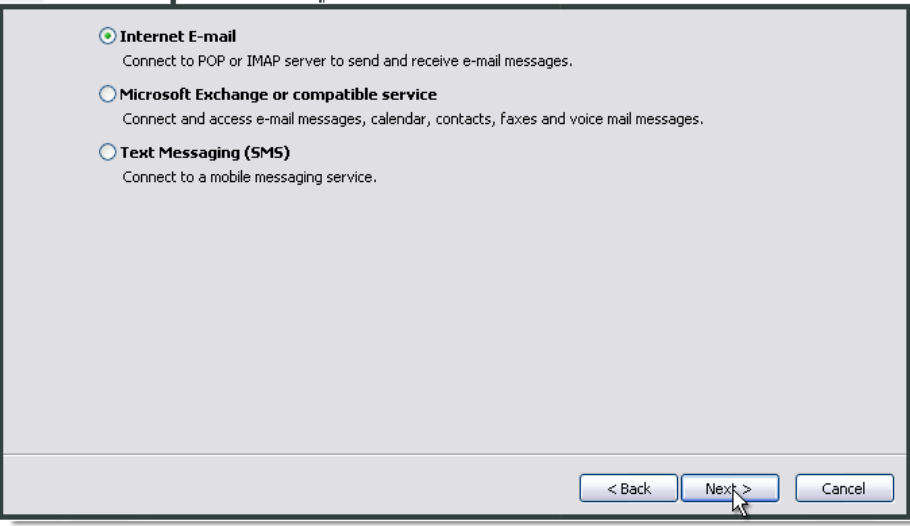
- Click Next after selecting Manually Configure server settings or other server types.
- Click Next after selecting Internet E-mail and entering your name and email address.
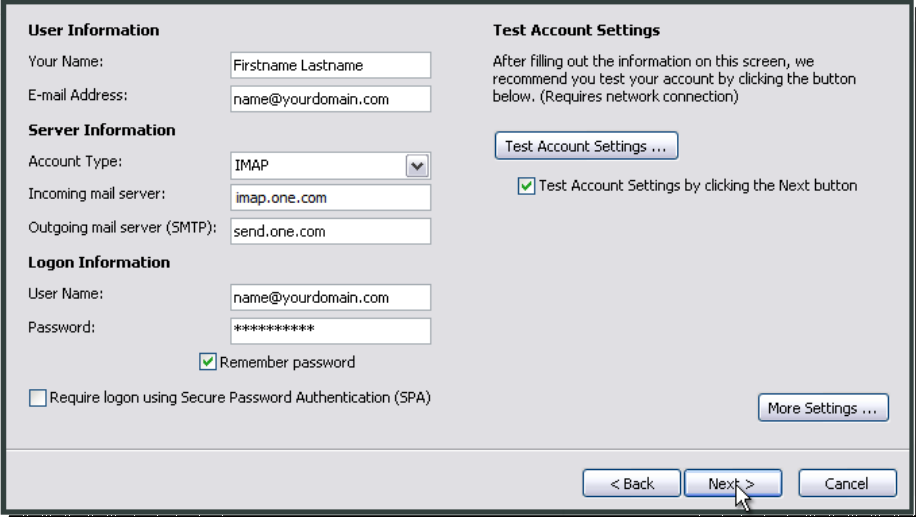
- Decide on IMAP as the account type.
- Enter imap.one.com as the incoming mail server (IMAP) address. Put send.one.com in the Outgoing Mail Server (SMTP) box.
- In Login Details your email address and password from the control panel
- Outlook 2010’s SMTP server configuration. Choose “More Settings“.
- then choose Outgoing Server. My SMTP outgoing server has to be authenticated.
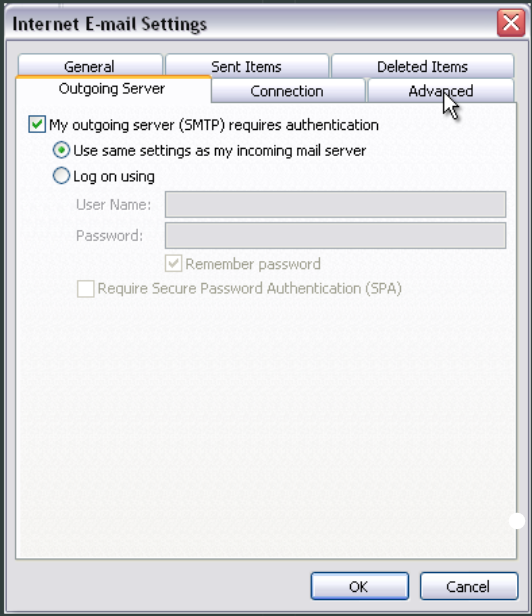
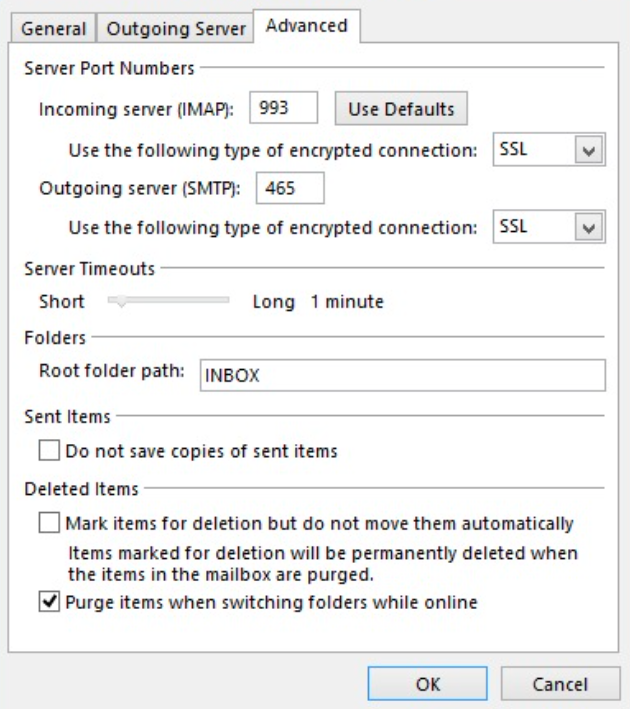
- Choose Advanced.
- Put 993 in the Incoming server (IMAP) field, then choose SSL.
- Enter 465 and select SSL for the Outgoing server (SMTP) field.
- Enter INBOX with capital letters in the Root folder location field.
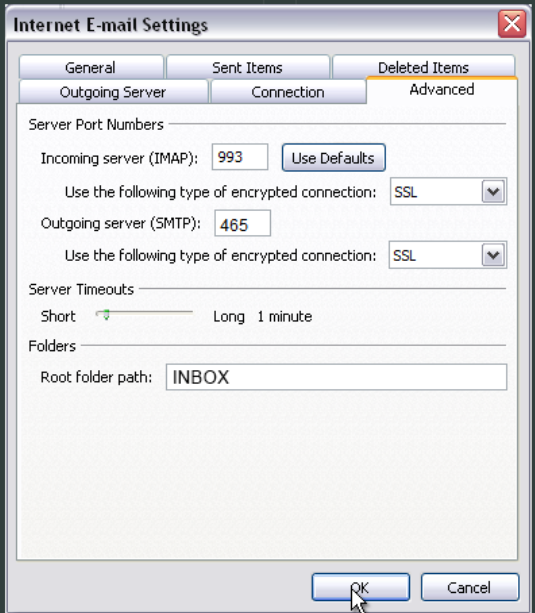
- Input OK and Hit “Finish“.
That’s it, here are all the above steps end.
Time to Wind-up
If you’ve never configured an account in Outlook before or seen any of its advanced settings. Also, if you are not aware of the new advanced protocol, then above we have given all the possible steps to configure new profile in Outlook 2021, 2019, 2016, and 2013. Whichever version of Outlook you are using then follow the above steps.
Frequently Asked Questions: Get the Facts
Q1: How to Add a Second Profile in Outlook?
Ans: Choose Start > Settings > Accounts > Family & other users. Under Other users > Add another user, select Add account. Enter that person’s Microsoft account information and follow the prompts.
Q2: How to save an email folder as a PST file?
Ans:
- Select File > Open & Export > Import/Export.
- Choose Export to a file, and then select Next.
- Afterthat, select Outlook Data File (.pst), and select Next.
- Select the mail folder you want to back up and select Next.
- Choose a location and name for your backup file, and then select Finish.