How to Create and Configure New Profile in Outlook
Simple Steps to Configure Outlook Profile
In this tutorial, you are going to learn how to create new outlook profile. Add existing PST file to newly created Outlook profile. Carefully follows below-mentioned steps to successfully create new outlook profile.
Lets Start With the Process of Configure Profile in Outlook 2016
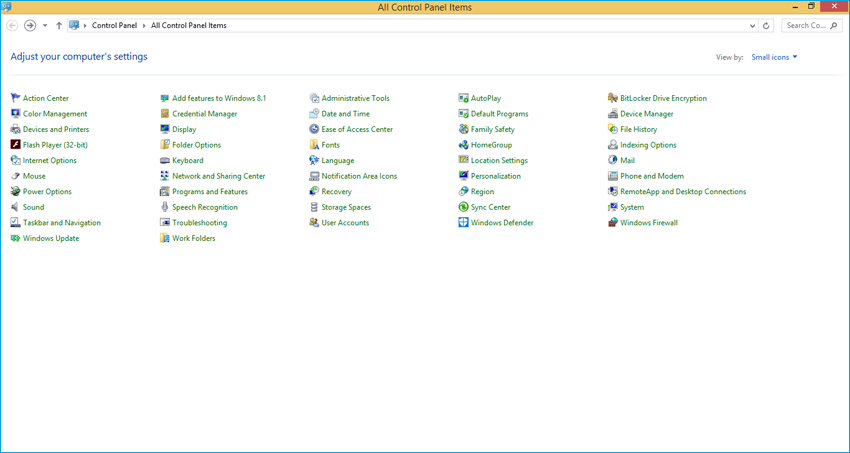
- Open the Control Panel (From Windows 8.1 onwards right click on Windows and select control panel)
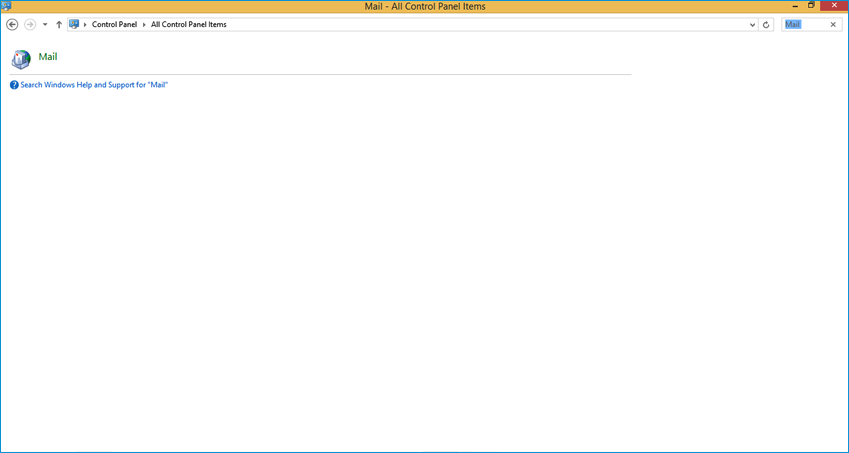
- Then Search for Mail Applet using the search bar
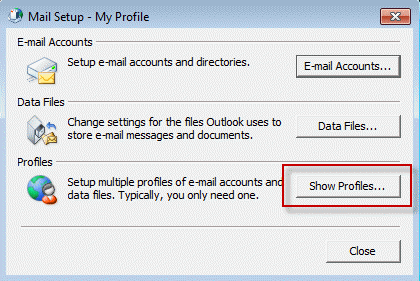
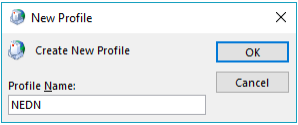
- Click Show Profiles
- Type Name for Your profile
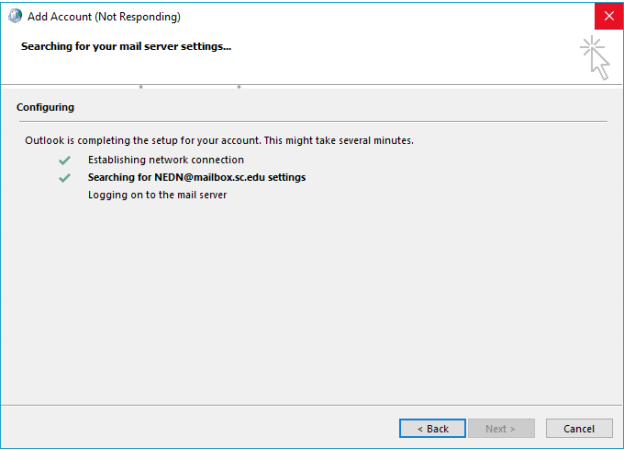
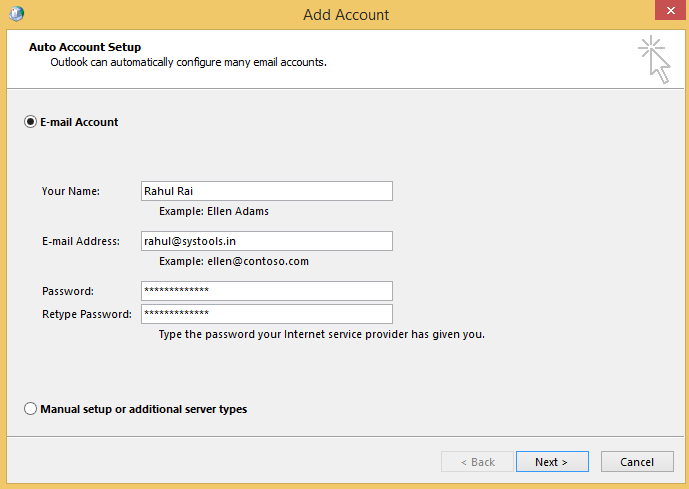
- From the Outlook Version, 2007 and later provides extensive support to “AutoDiscovery”. If you choose that option then your account is automatically setup. Type Your Name, Email Address, and password. After that, Your profile will automatic setup.
- After the completion of Auto setup of email account, If you want to use existing pst file the click on Manually configure account settings.
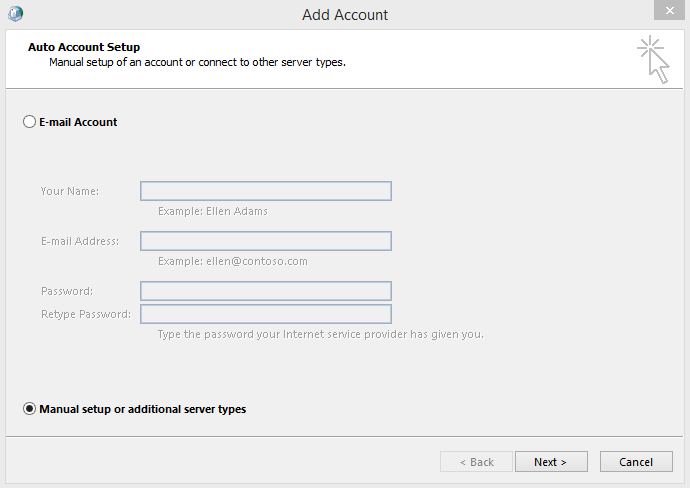
- If the auto discovery method fails. Then in such case, you will have to create the profile manually.
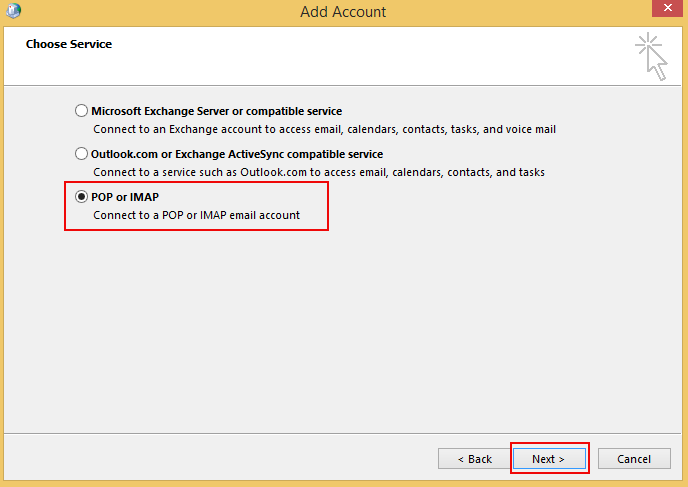
- For the same, you will have to provide the account information such as account type, email server names.

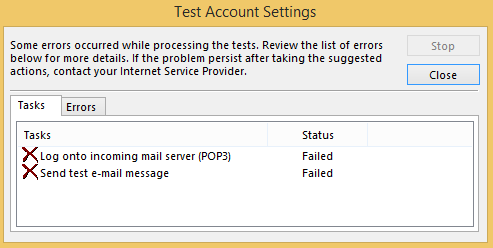
- Test the entered settings by clicking on Test Account button. If it fails then check your settings again.
- In most ISP service provider needs authentication to send outgoing mail. For this click on more settings
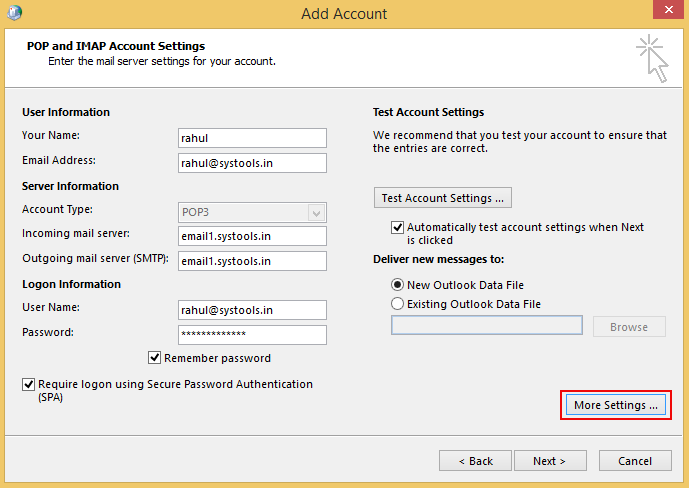
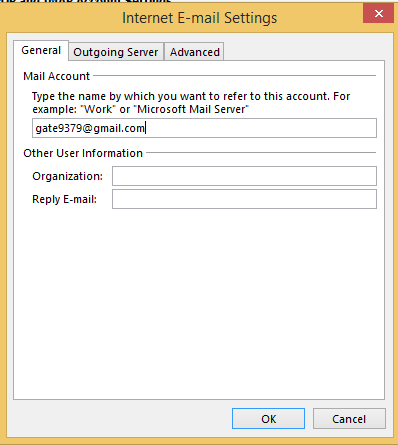
- More settings allow you to setup reply address, configure outgoing server authentication and the connection information. For custom server ports, time outs, use Advanced tab
- When you complete the configure of outlook profile. Close the profile set up the dialog box. The Click on Outlook icon to launch it.