Software Working Preview
- Download and Install the software. Launch the tool from: Start » All Programs » Import Outlook PST File to Office 365. Click on login Button to sign in to you Office 365 account.
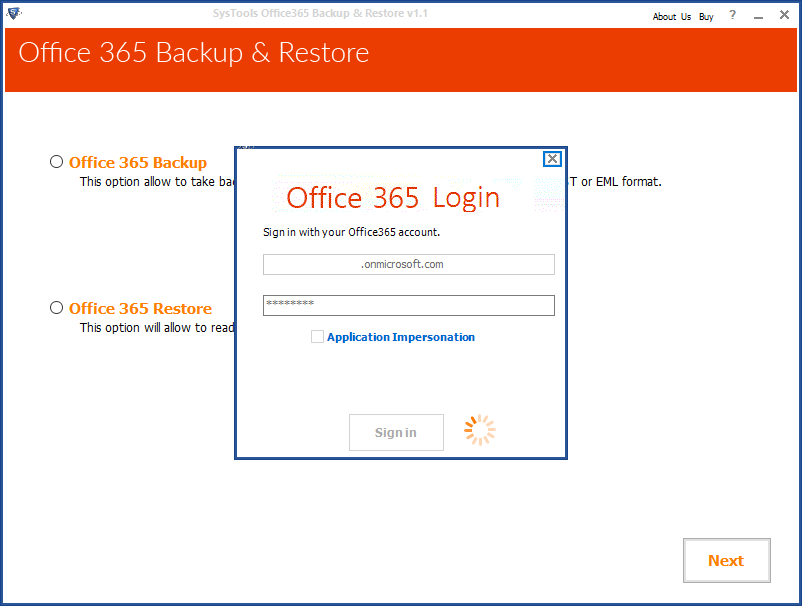
- Enter your credentials such as Username & Password. Click on Sign In
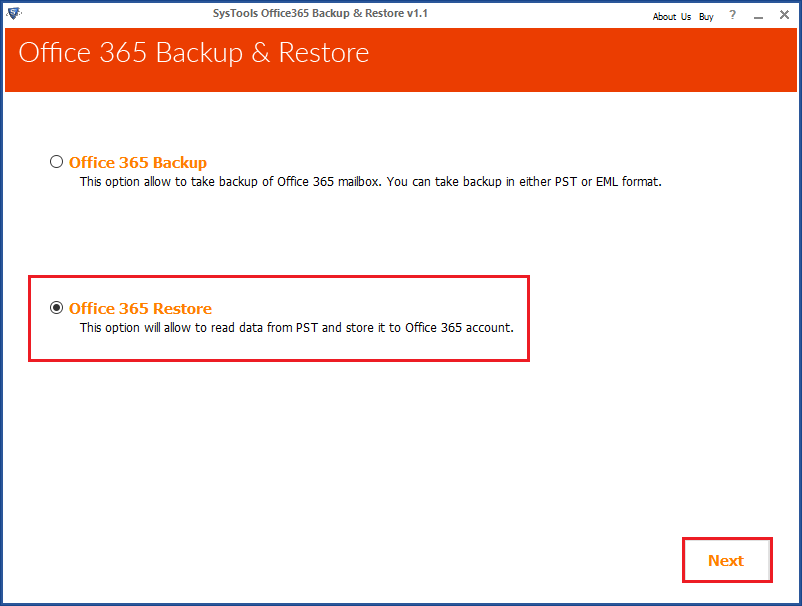
- Choose the Office 365 Restore radio button to move your PST data to Office 365 Cloud, click Next.
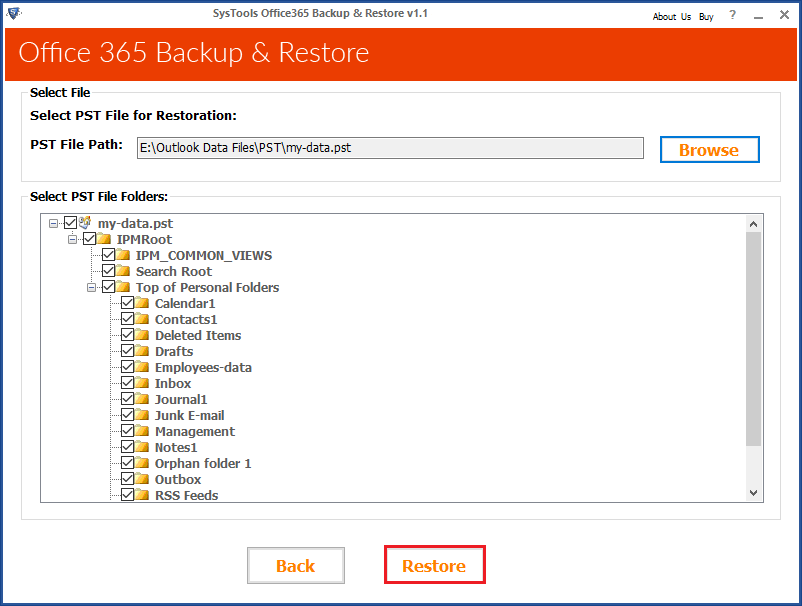
- In your New Window, click on Browse to browse the PST file, select PST file and click on Open button
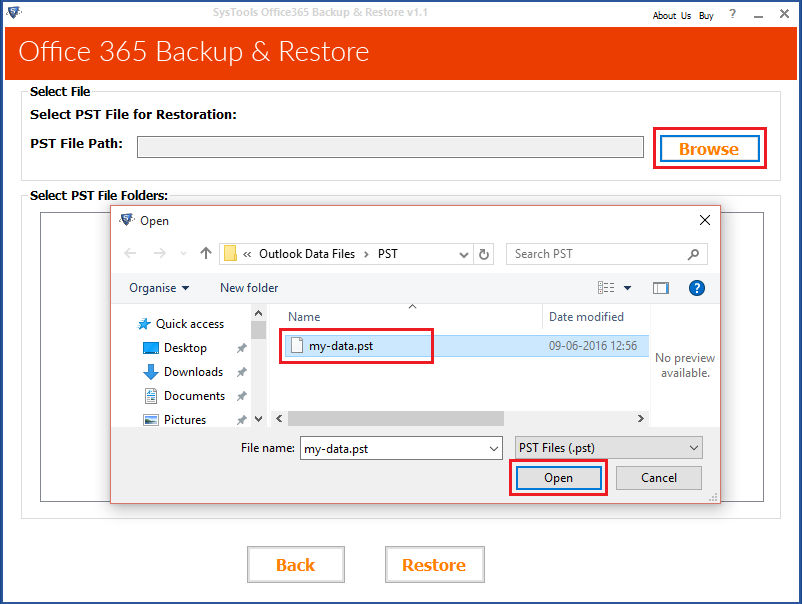
- Now click on Restore.
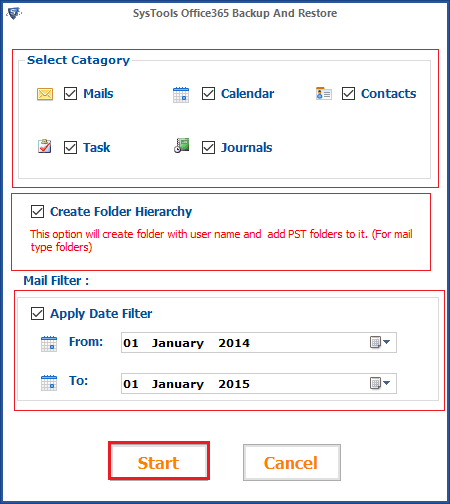
- A Select Category Window will appear which includes Mails, Calenders, Tasks, Journals and Contacts. Select Create Folder Hierarchy to maintain the hierarchy of your PST file even in your Office 365 Cloud, But this feature is only present for Mail Folder. Select Apply Date Filter to choose for a particular time period, if you dont want your entire PST file to migrate.
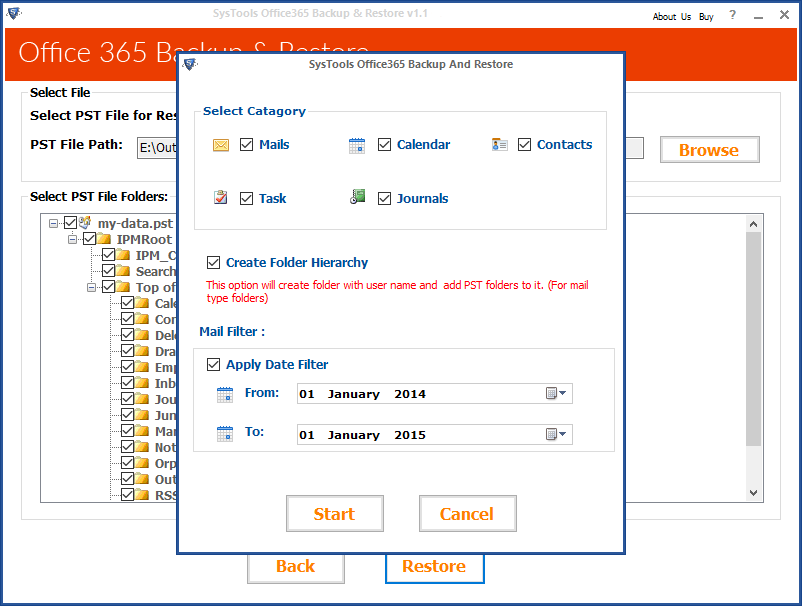
- Now, click on Start to start the process.
- The progress of restoring is displayed in the window.

-
After completion, a message 'The Restoration process is completed' will appear.You can now, login to your Office 365 Outlook account to check the migrated file.