Software Working Preview
- To begin using the software, first Download and Install Revove OLK Converter.
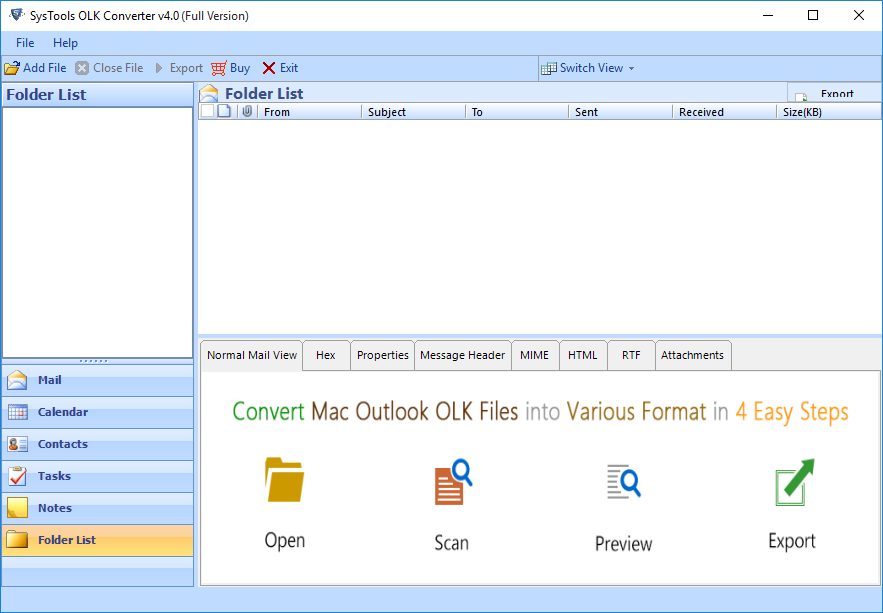
Launch OLK Converter software from the installation location or Navigate to Start » All Programs » OLK Converter » OLK Converter to initialize the software.
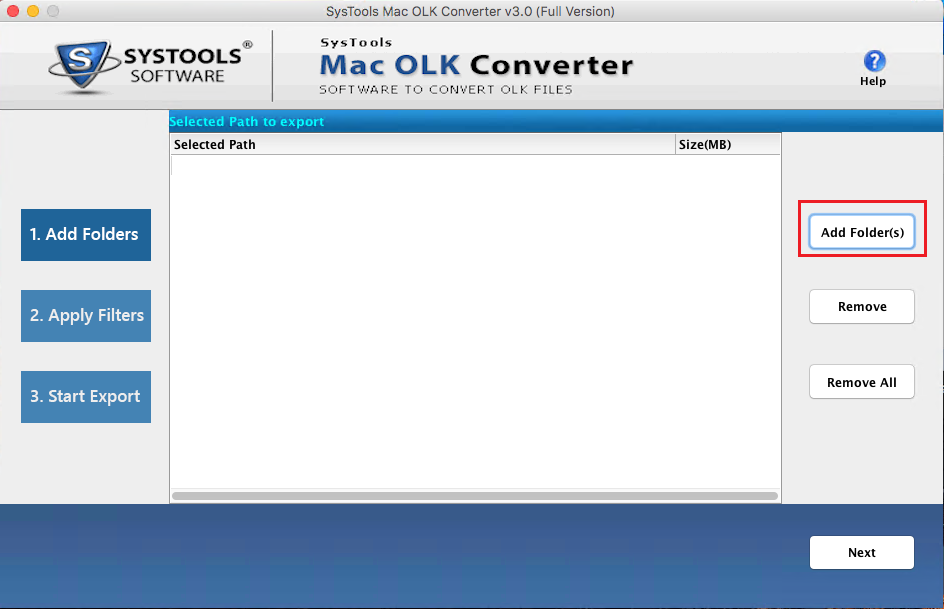
- Now add the OLK file by clicking on the Add File button.
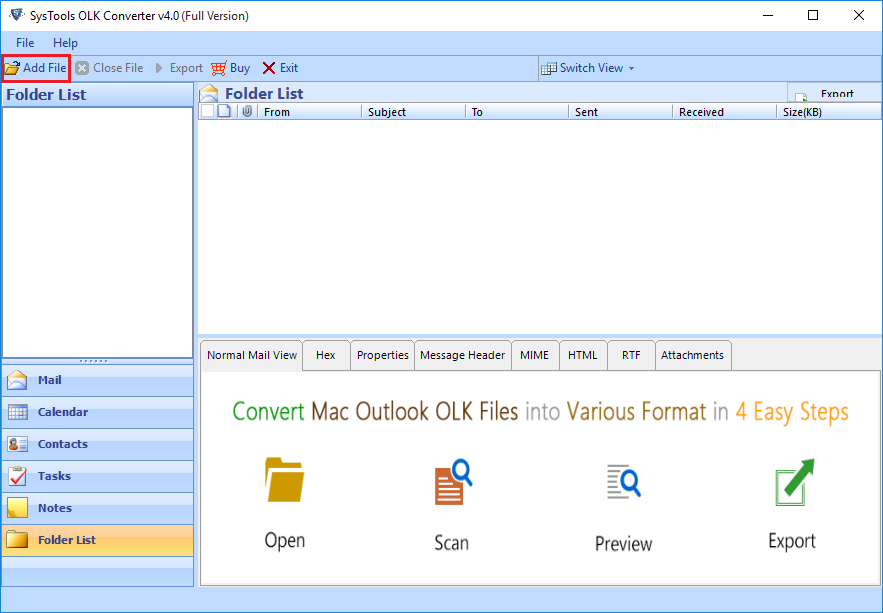
- As you click on the Add File button, a small window will pop up with two option i.e. Folder and File. You have to browse the OLK file location from the machine.
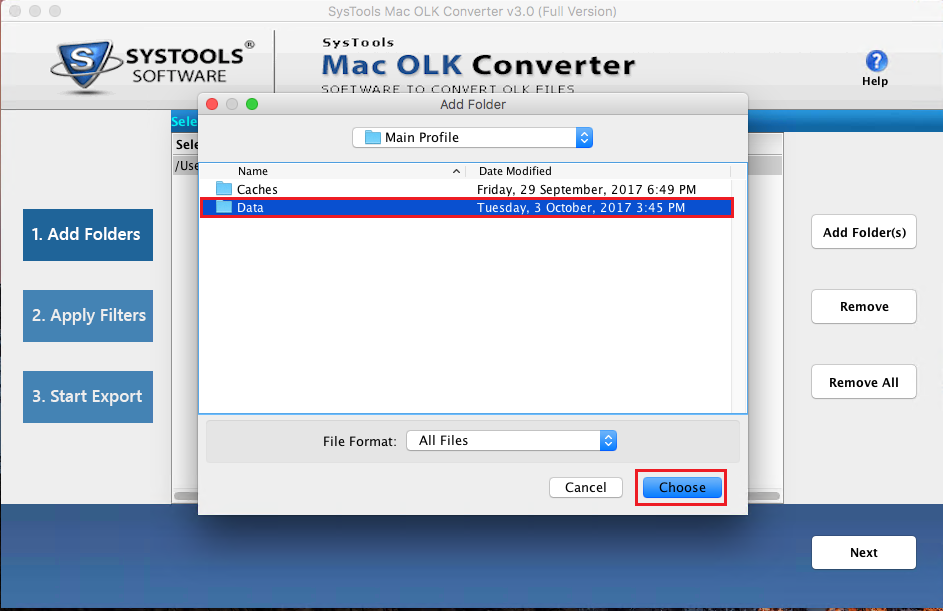
Folder: - You need to select the main identity folder containing (.olk) file.
Advance Scan: - You need to check the Advance Scan checkbox to export individual OLK files without identity folder. But in this case the attachments will not appear.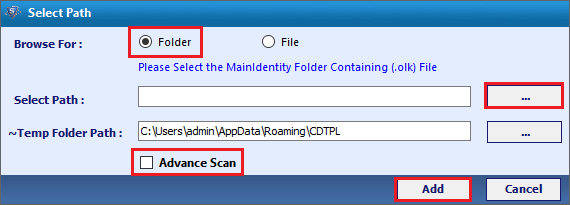
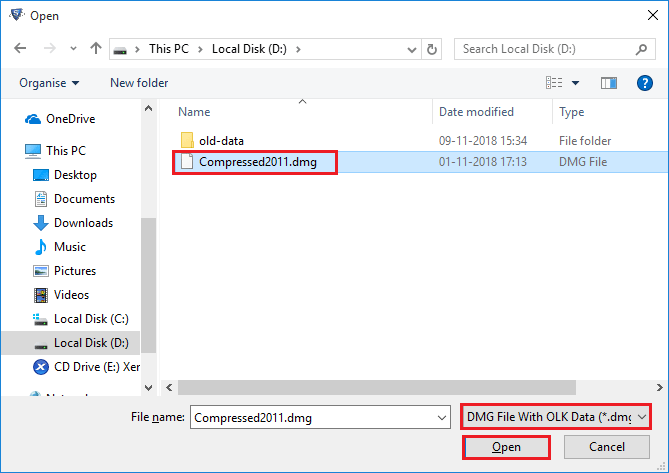
- Select the file type (olk14, olk15 or .dmg file) which you want to browse and navigate to the location. The software will list only the selected type file
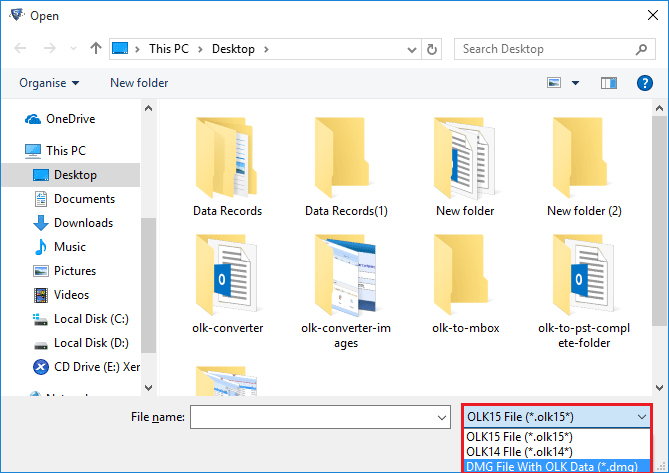
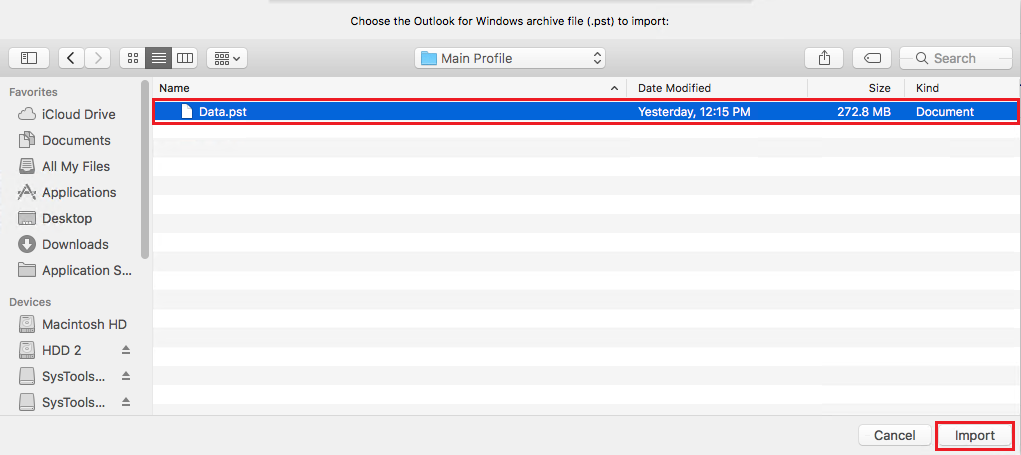
- Navigate to the location and select the file and then hit on Open
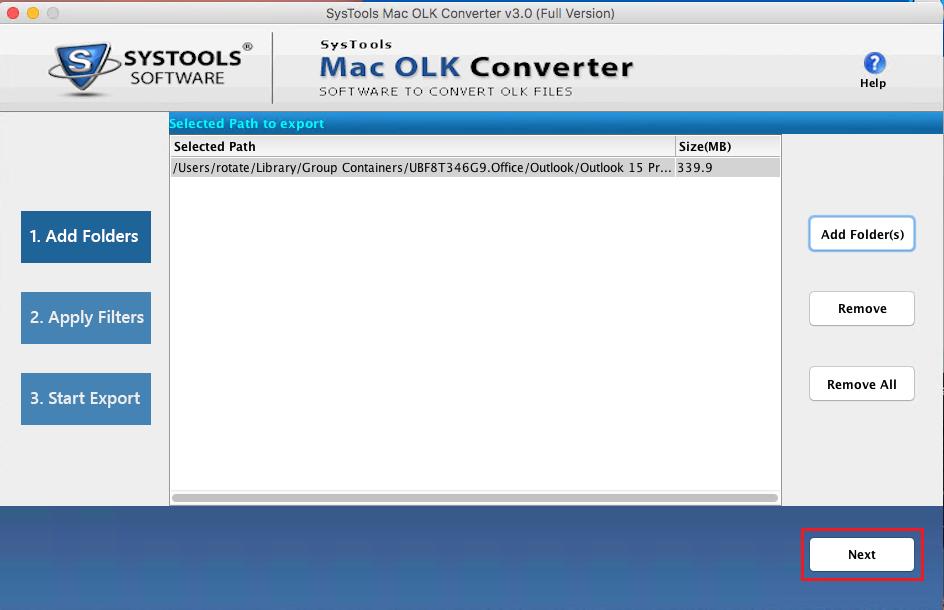
After selecting OLK file hit on Add button.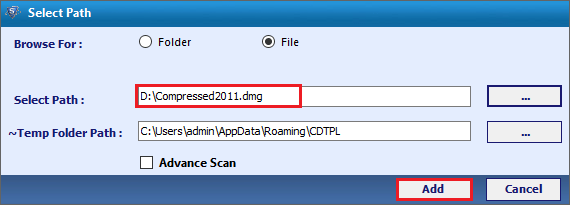
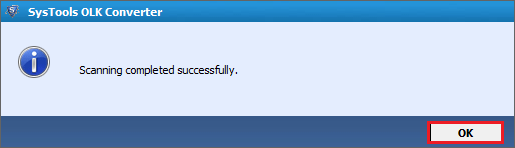
- After Complete Scanning it will show a successful message. Simply click on OK
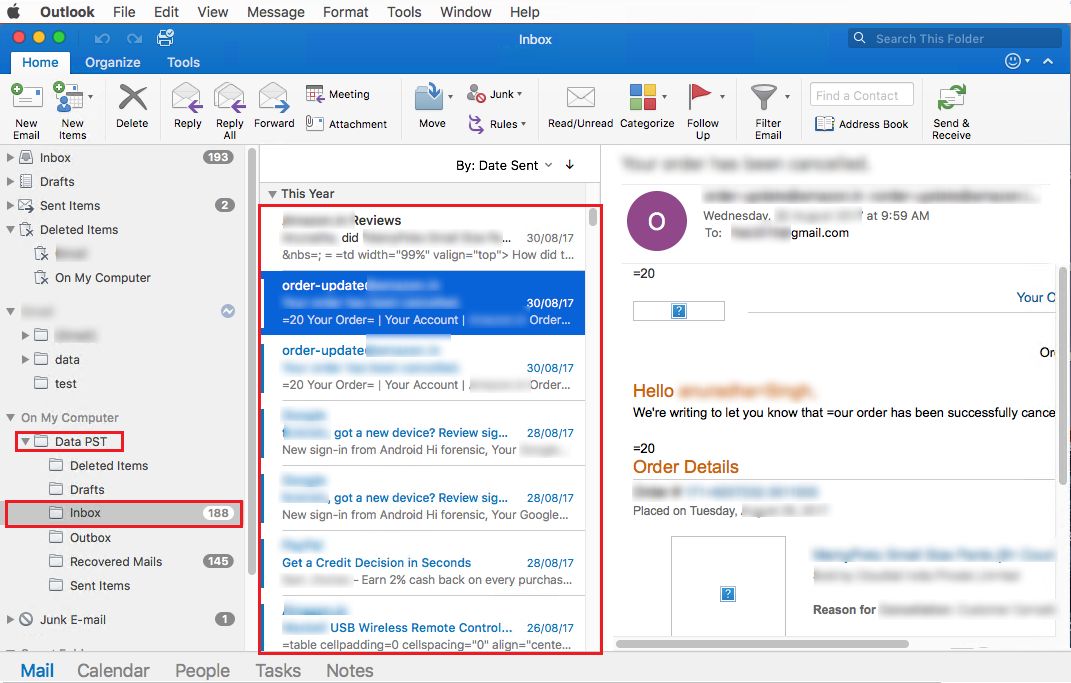
- Here the software will all folder in the Folder List section.
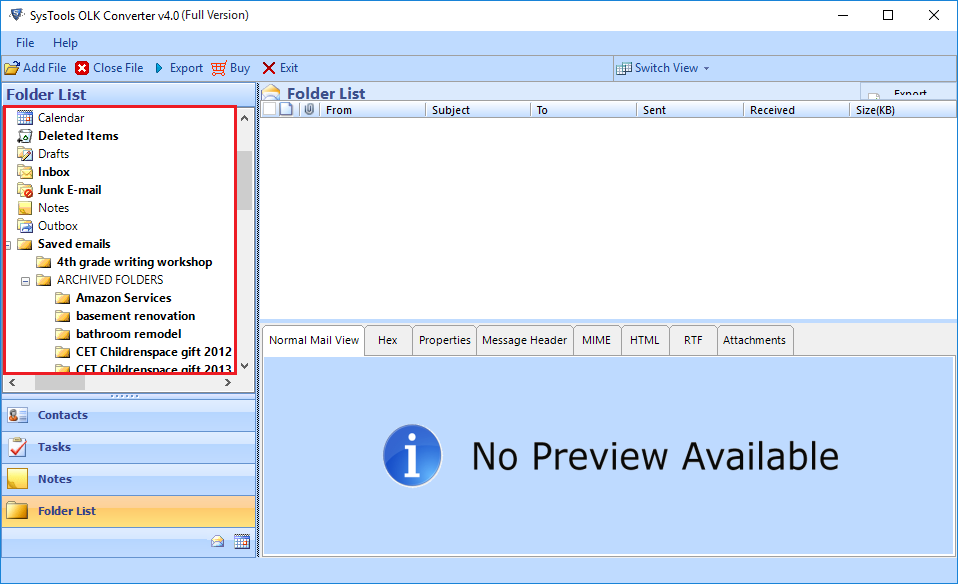
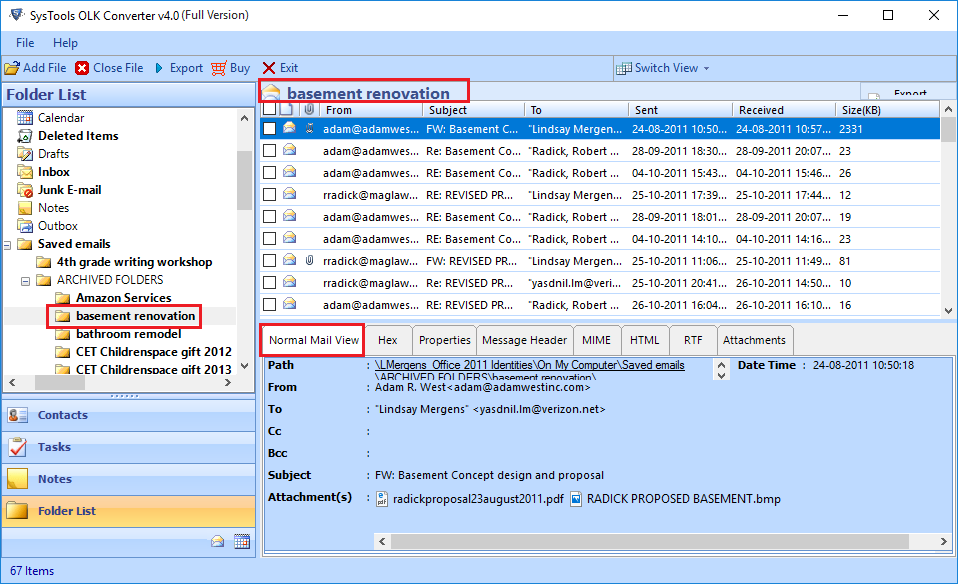
- Explore the folder and view the emails along with all attributes in right-panel of software.
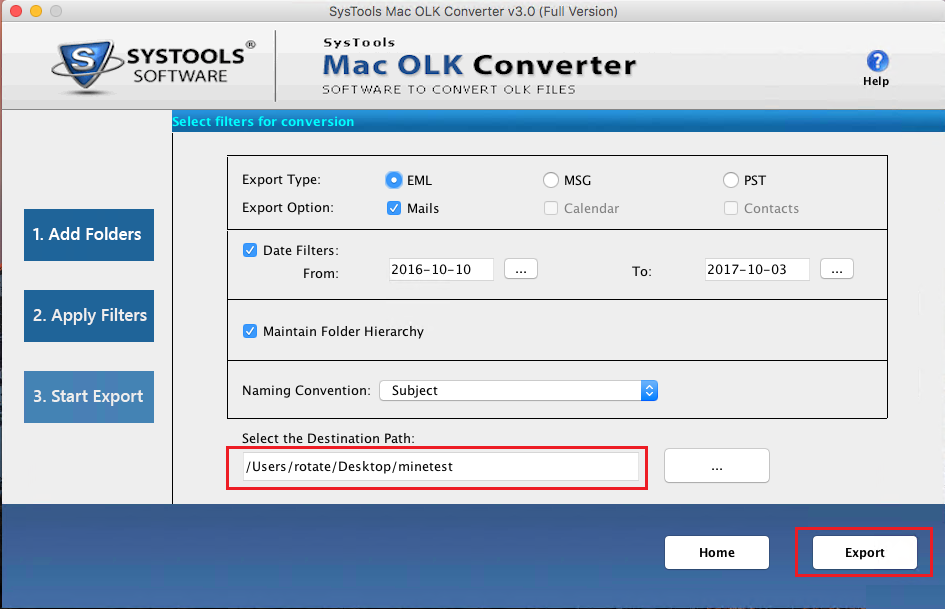
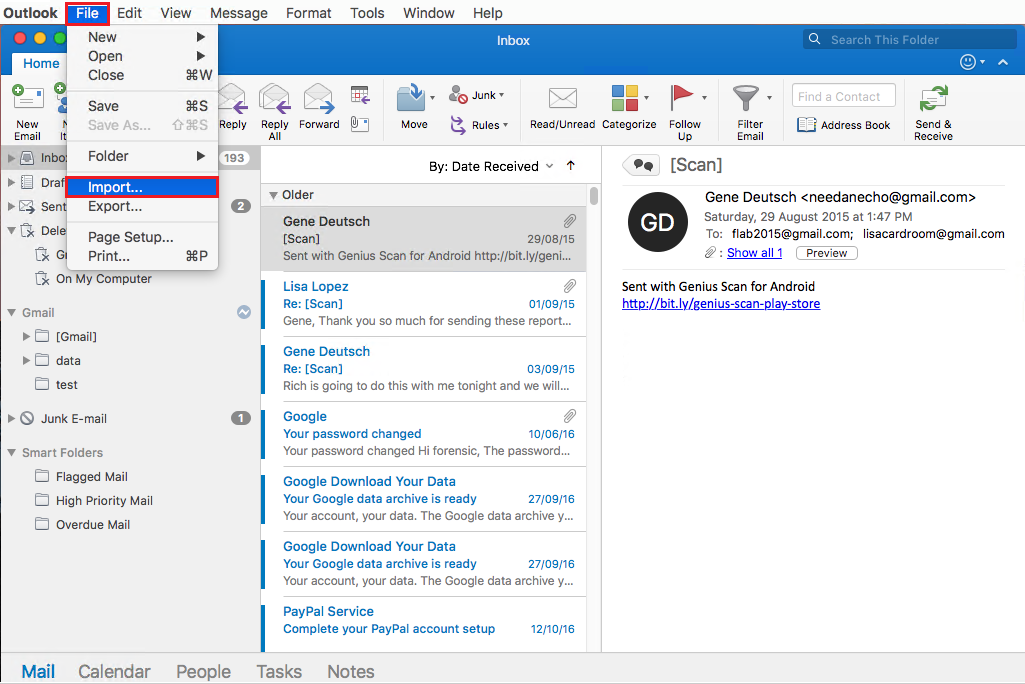
- Export the complete data from OLK file. Hit on the Export button from menu bar as highlighted below.
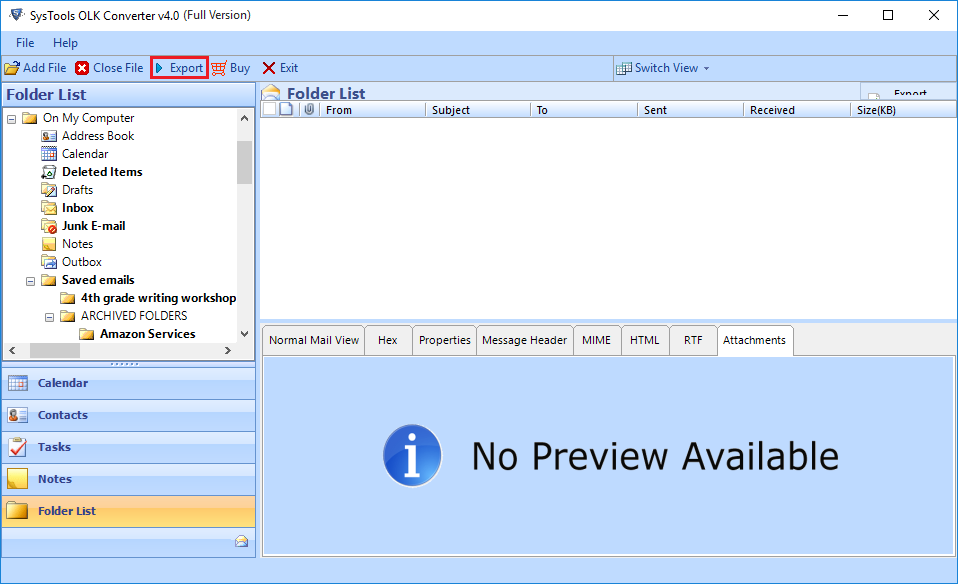
- Export: Complete Folder
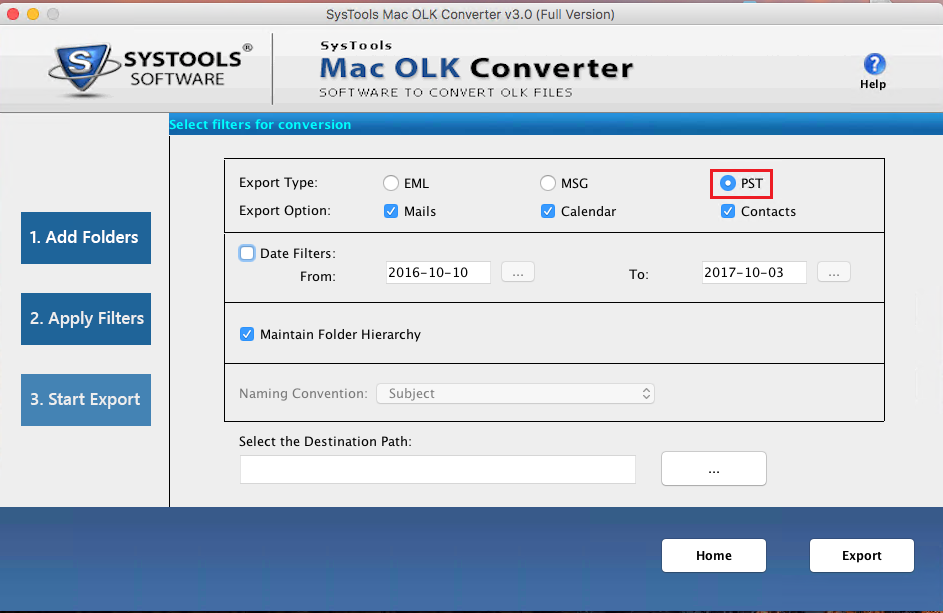
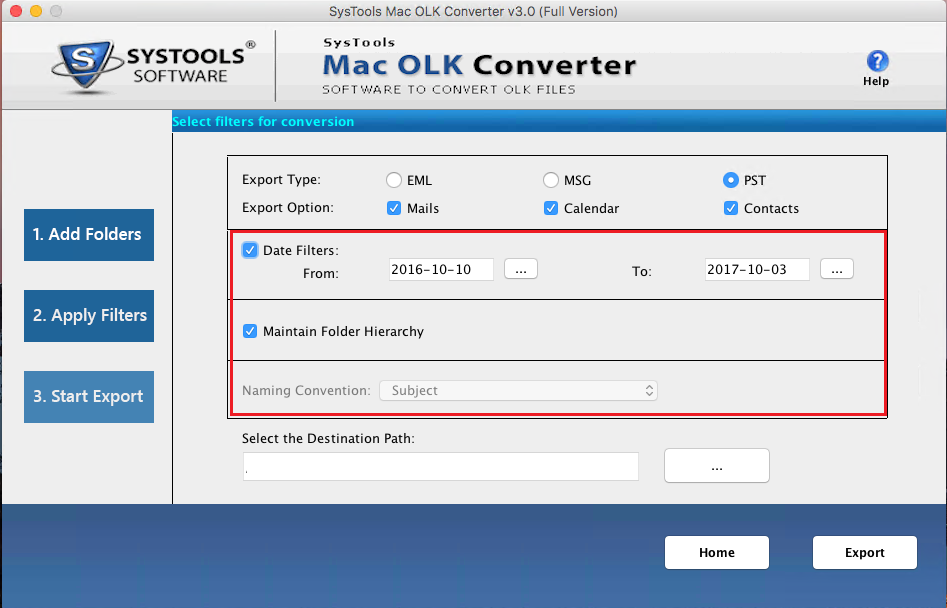
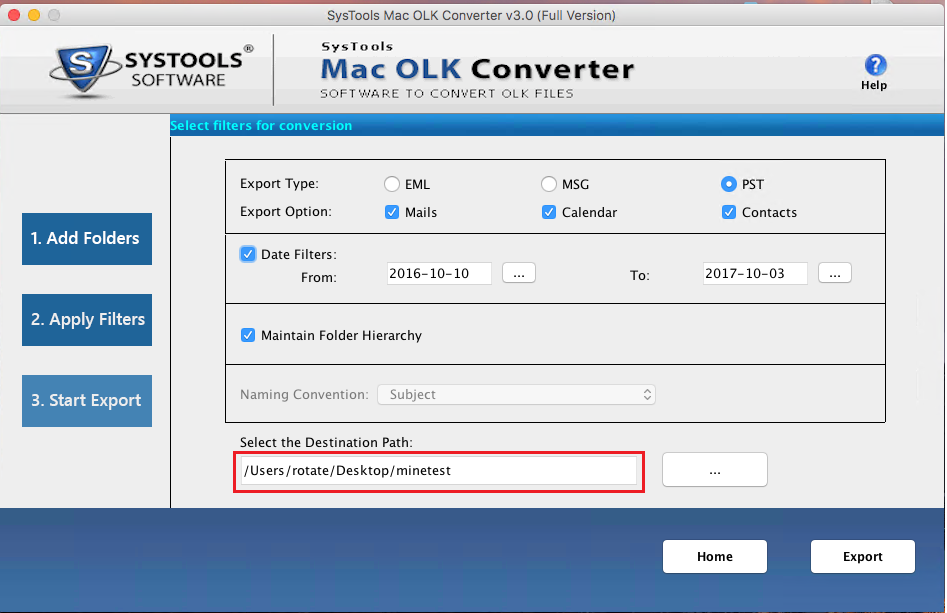
Select file format as resultant file format and hit on Advance Settings option (if required). Select the folders by checking checkbox as shown below.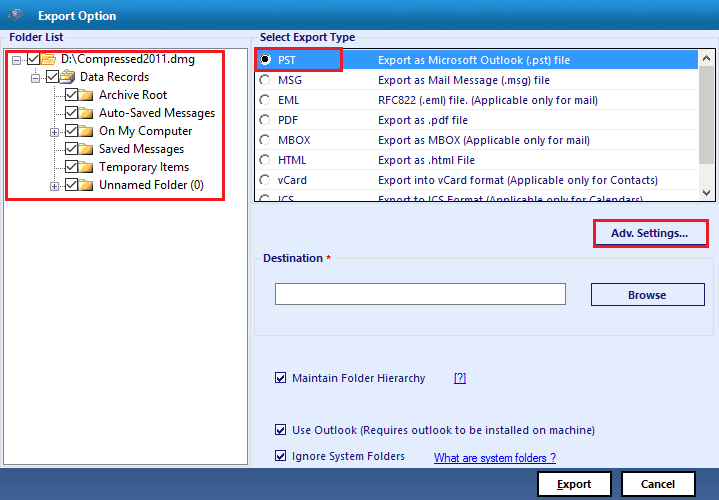
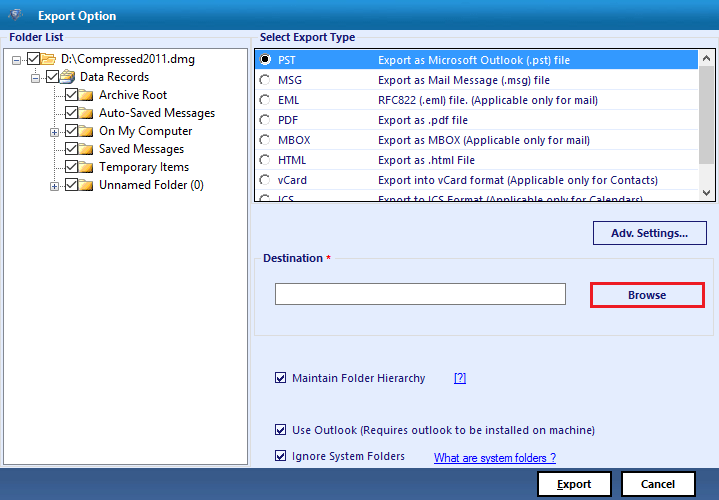
- PST: Select PST as resultant file format and hit on Advance Settings option (if required). Select the folders by checking checkbox as shown below.
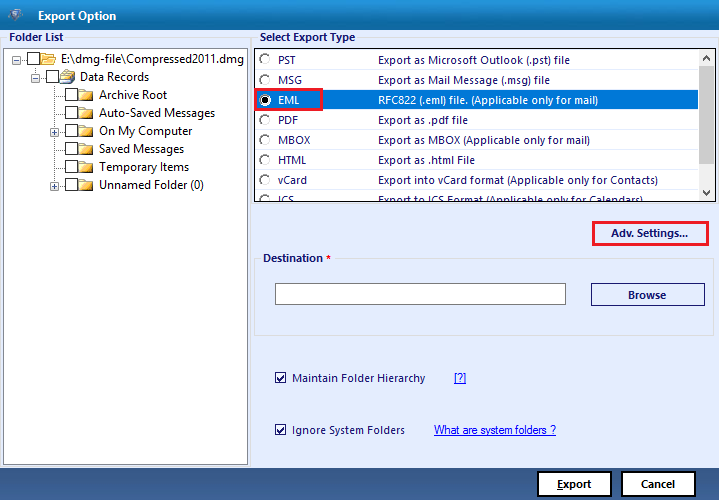
- EML: Select the radio button beside EML and click on Advance Settings to apply advance features.
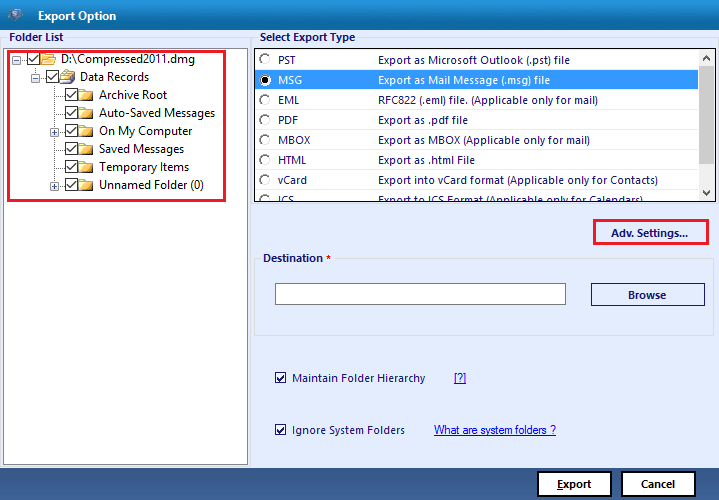
- MSG: Select the radio button beside MSG and click on Advance Settings to apply advance features.
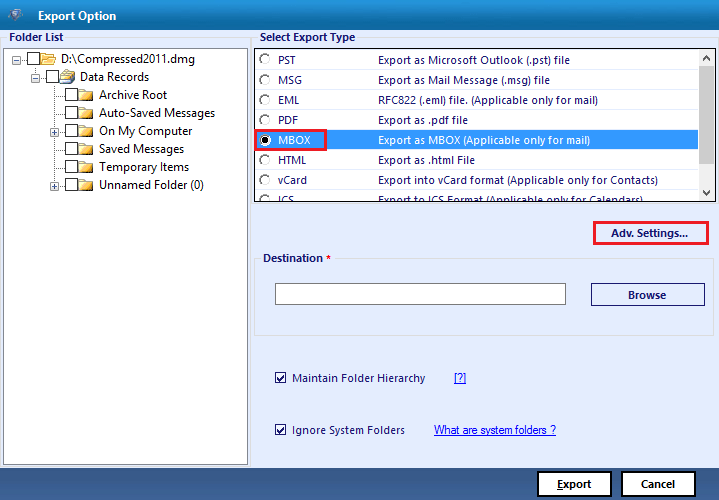
- MBOX: Select the radio button beside MBOX and click on Advance Settings to apply advance features
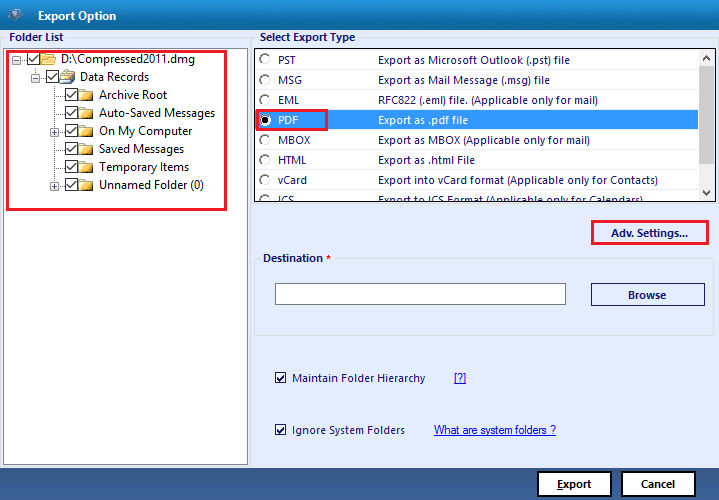
- PDF: Select the radio button beside PDF and click on Advance Settings to apply advance features.
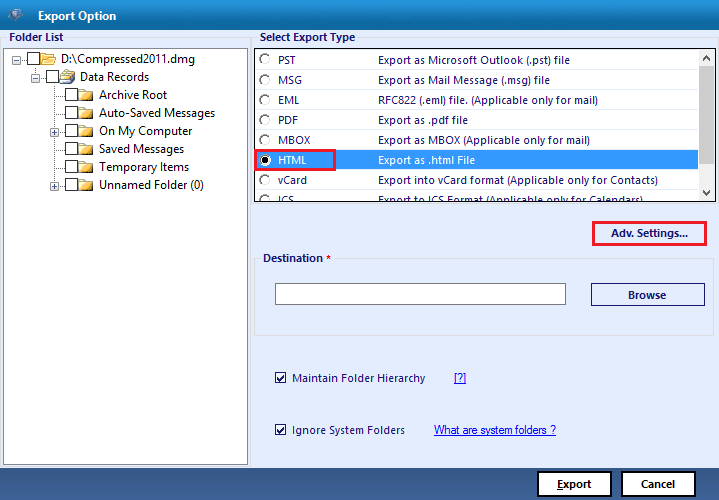
- HTML: Select the radio button beside HTML and click on Advance Settings to apply advance features.
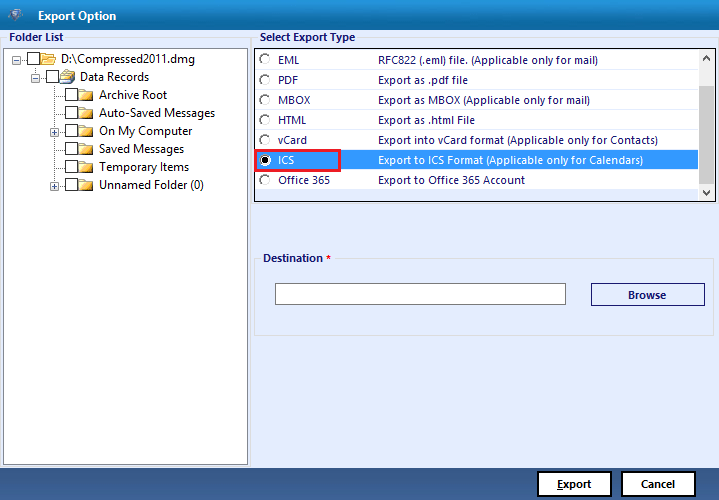
- ICS: Select the radio button beside ICS and move to next step.
- vCard: Select the radio button beside vCard and move to next step.
- Office 365: Select the radio button beside Office 365 and hit on Advance Settings option.
- PST: Select PST as resultant file format and hit on Advance Settings option (if required). Select the folders by checking checkbox as shown below.
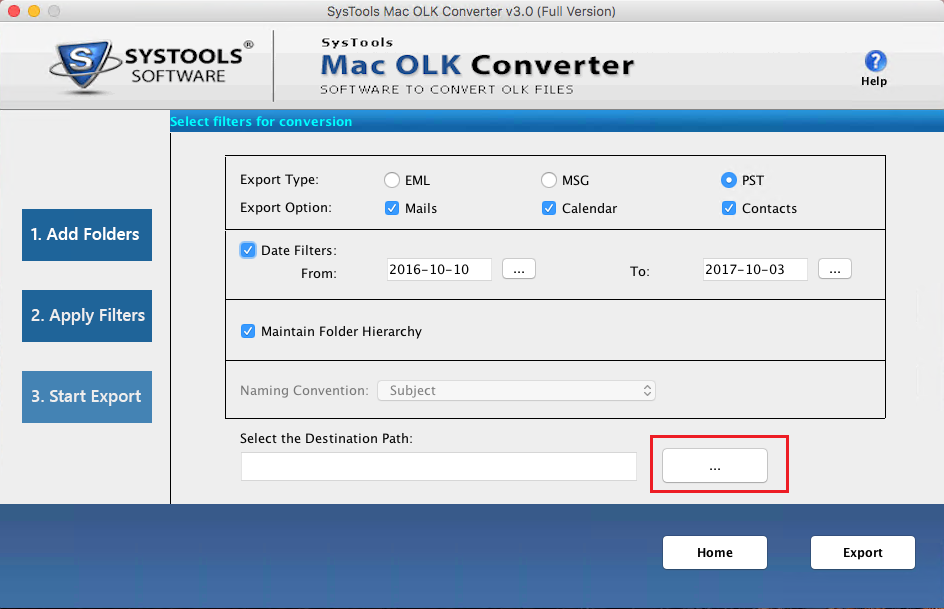
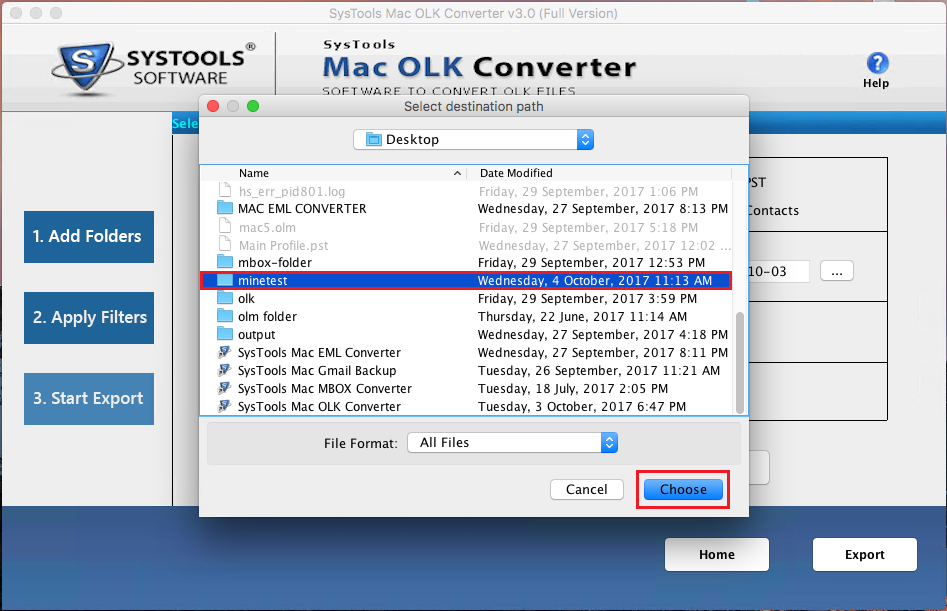
- Click on the "Browse" button to select the destination folder.
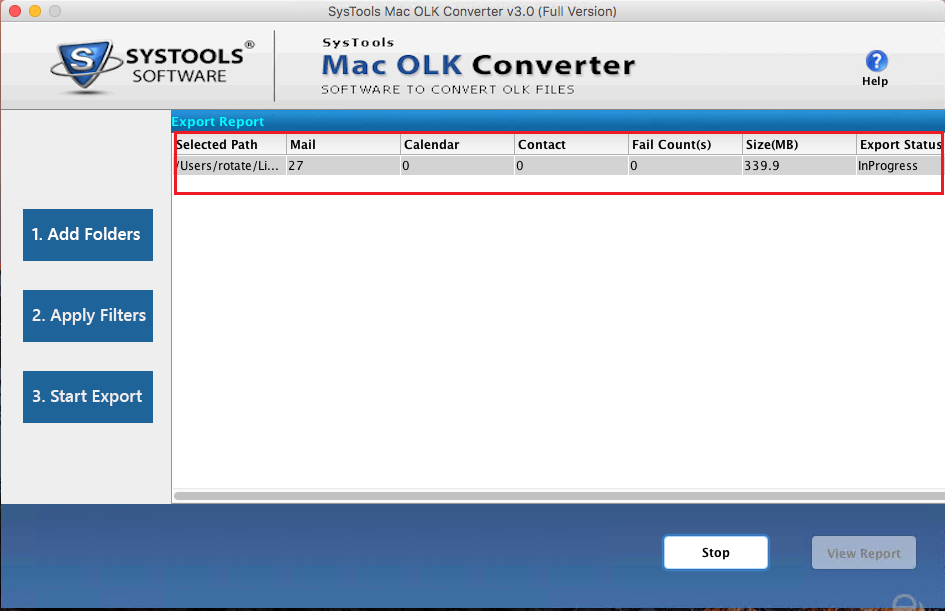
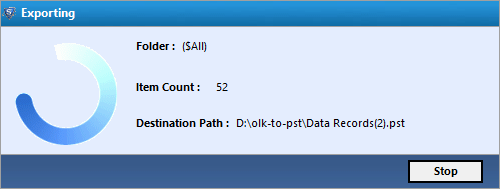
- View export progress details and wait till it completes to 100%.
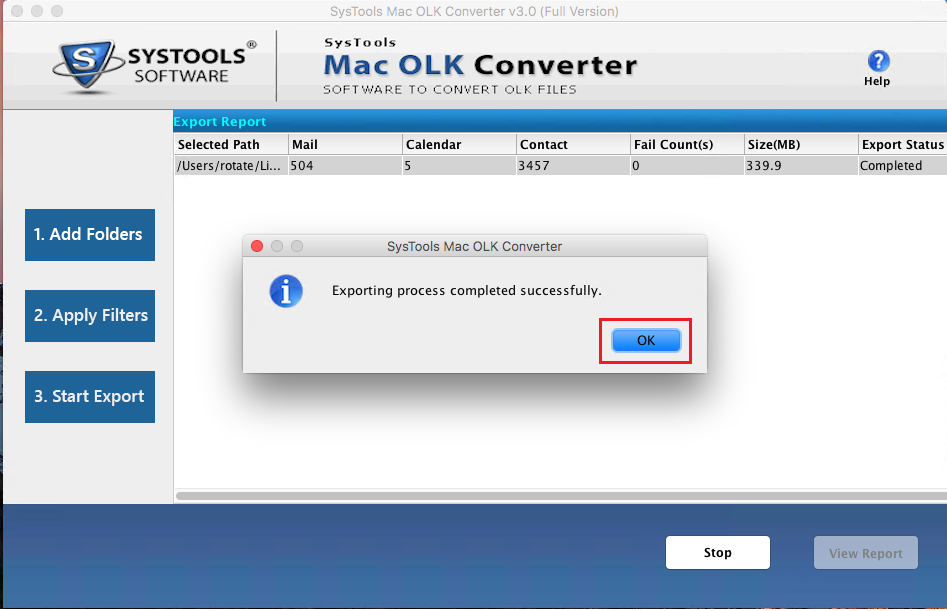
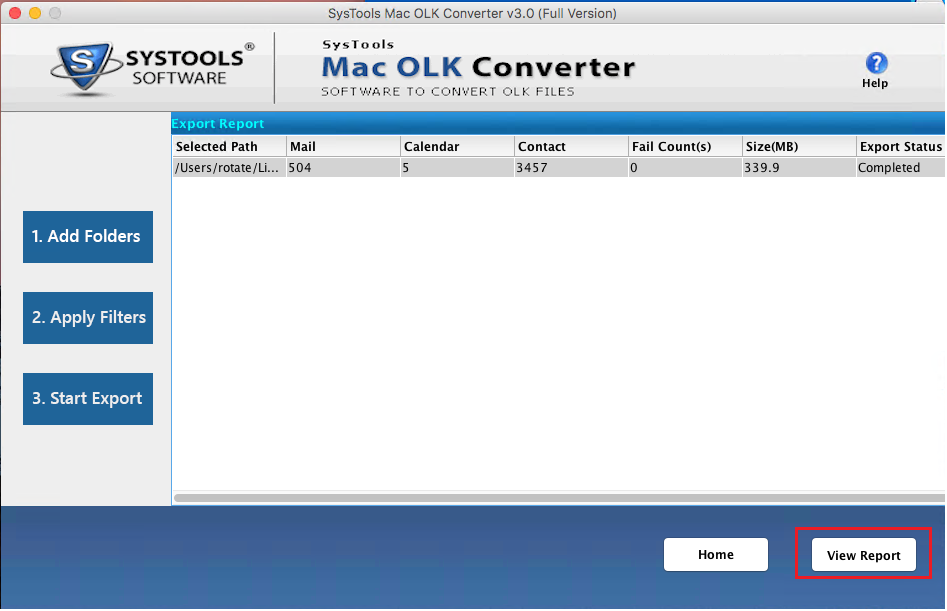
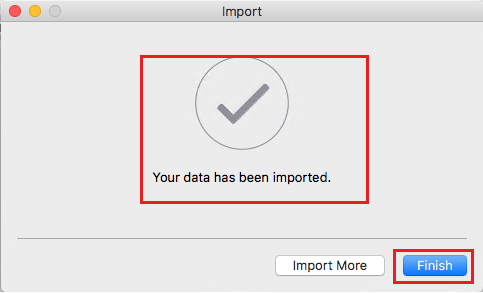
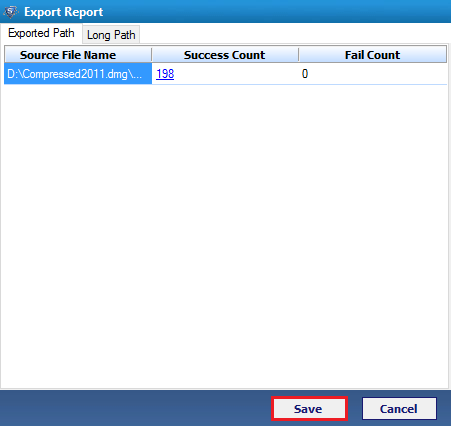
- After completion the software show you a successful message. Simply hit on OK button and save the export process detail.
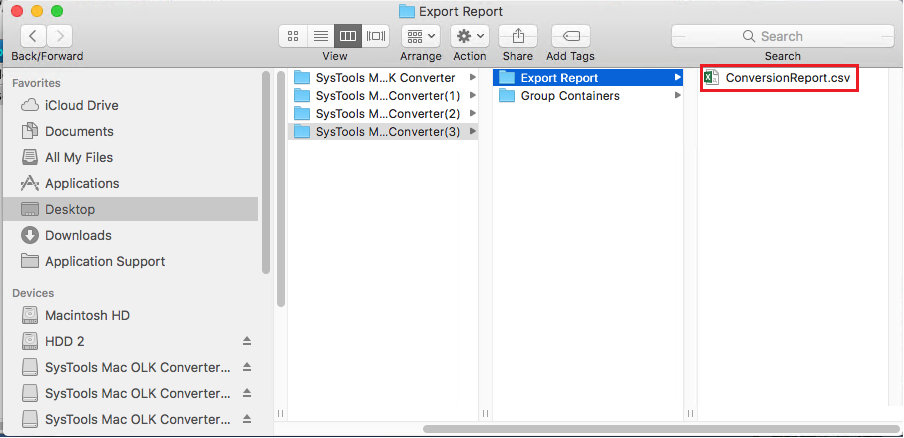
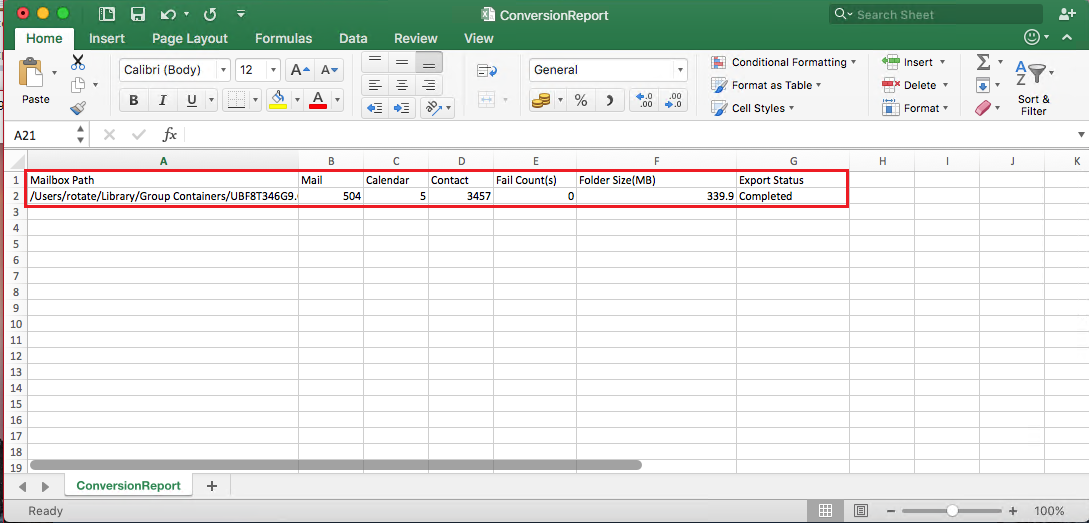
- Saves Export report in CSV file format
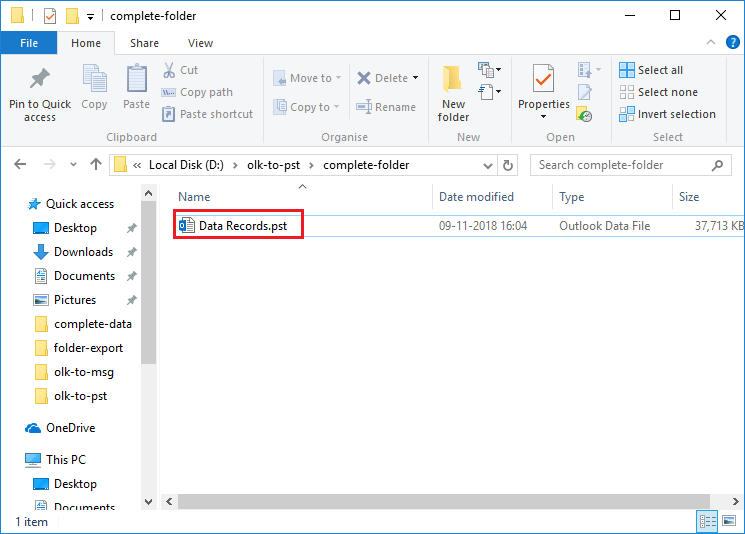
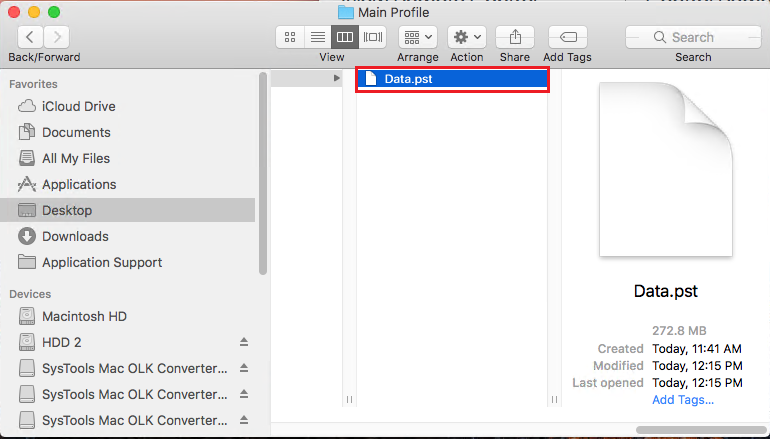
- View Resultant Data at the provided location