Software Working Preview
-
Go to the start menu click on All Programs » Revove OST Recovery.
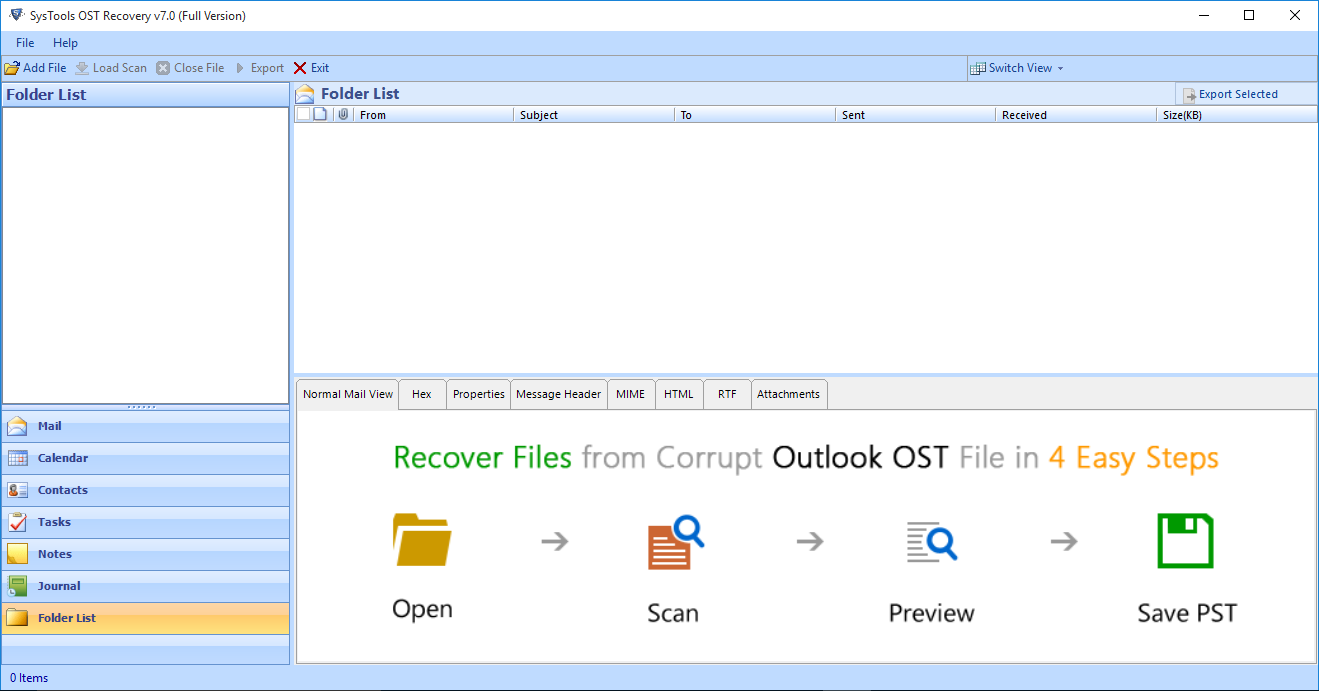
Once the software is launched, Click on the "Add File" button as shown below:

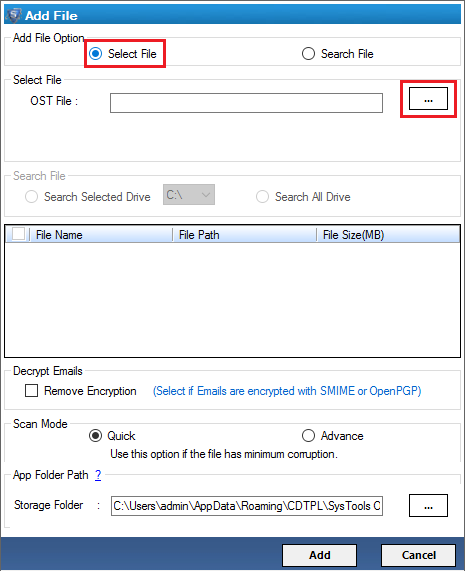
As soon as you click on the Add Files button, "Add File" Window pops up to let you select one of the given options like
- Select File
- Search File
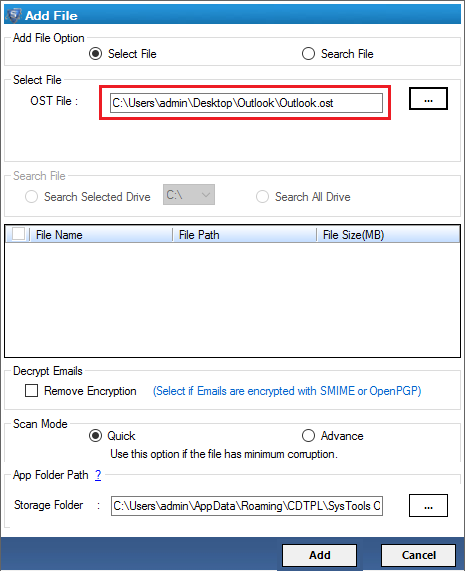
Select file
Click on the "Select File" radio button and browse the OST file click on the “...” button.
Now, Browse the desired OST file, select it and click on "Open" button.
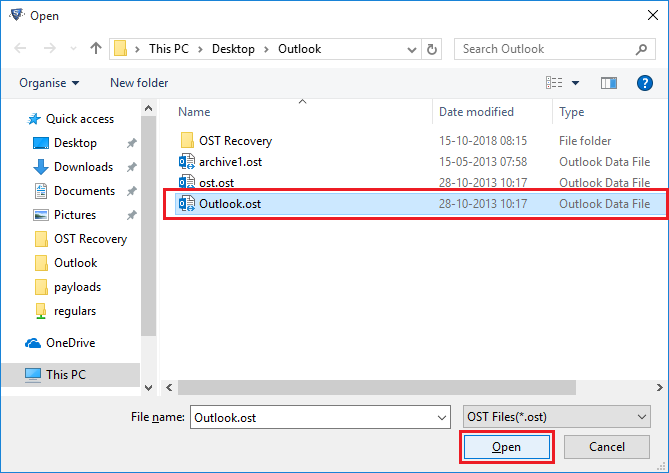
Now, the software displays the path of selected OST file in textbox near to Browse button
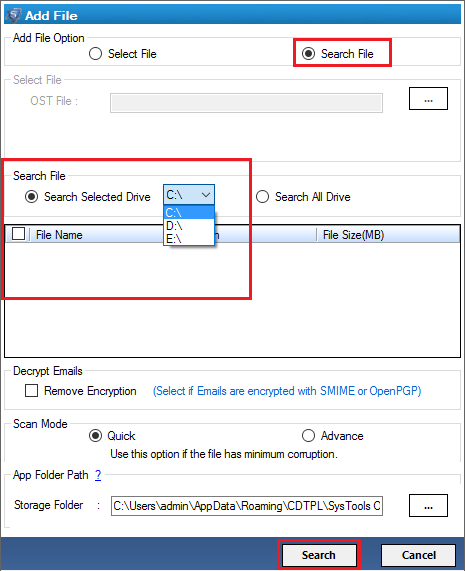
If you click on Select Search Option then there are two more options for searching the .OST files.
- Search Selected Drive: To search the file from Selected Drive.
- Search All Drive: To search the file from all the Drives.
Select "Search Selected Drive" to get all the OST file stored in a particular local drive. Press "Search" button.
Click OK when 'Search Sucessfully Completed Message' Pops up.
After the searching process is completed, the software displays the list of OST files stored on entire drive as shown.
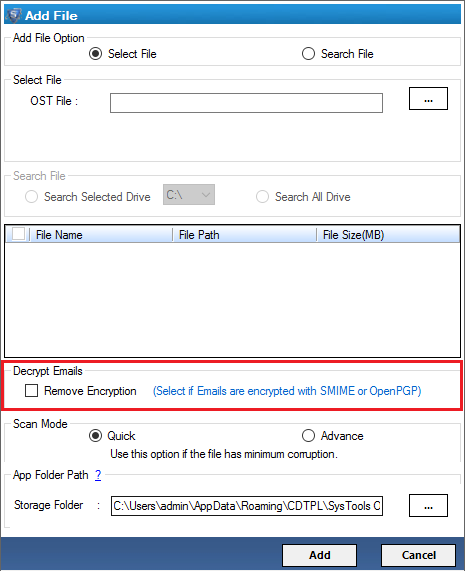
Revove OST Recovery software supports to remove two Outlook Email Encryptions SMIME and OpenPGP in OST files
- SMIME: This encryption type encrypt Outlook emails using Certificates.
- OpenPGP: This encryption type encrypt Outlook emails using Public and Private Keys.
To remove encryption from Outlook Email Messages in OST file:
Now you can see the storage path of OST file. The software provides two modes for scanning: Quick and Advance.
- Quick scanning mode: Provides faster recovery of OST files.
- Advance mode: If you are not able to view the data after using quick scan mode or if the OST file is highly corrupted then use the Advance scan mode. As it is designed for deep data recovery task. This Software support Advance Scan on 64 bit OS also. To recover permanently deleted items from OST file, choose Advance scan option.
Once the file is selected, Click on Add button to proceed further.

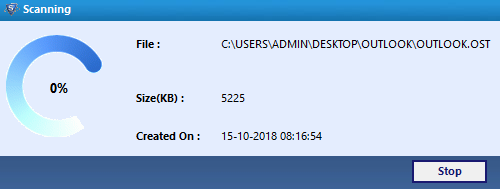
The software will start the scanning process of OST file.
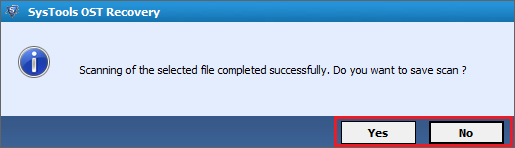
As soon as the scanning process is completed a dialog box appears confirming success of the scanning process, the left most panel displays the list of folders in the complete folder/directory hierarchy. Now user can save scanned OST files if he needs. Click on Yes button if you want to save the scan results for the OST file.
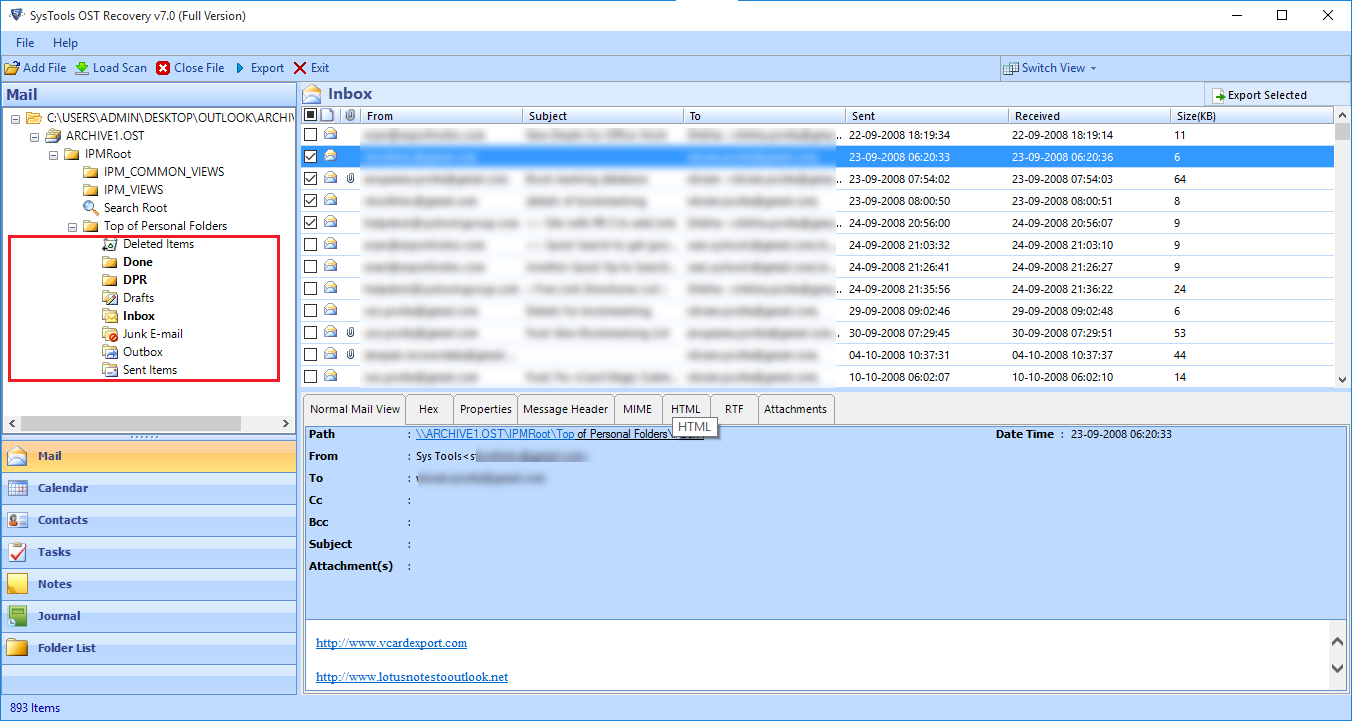
The Left Panel of the software displays existing folders in Source OST files in 2 Fonts.
- Bold: The Folder Name displayed in Bold font contains data in it.
- Unbold: The ubold folders denoted empty folders.
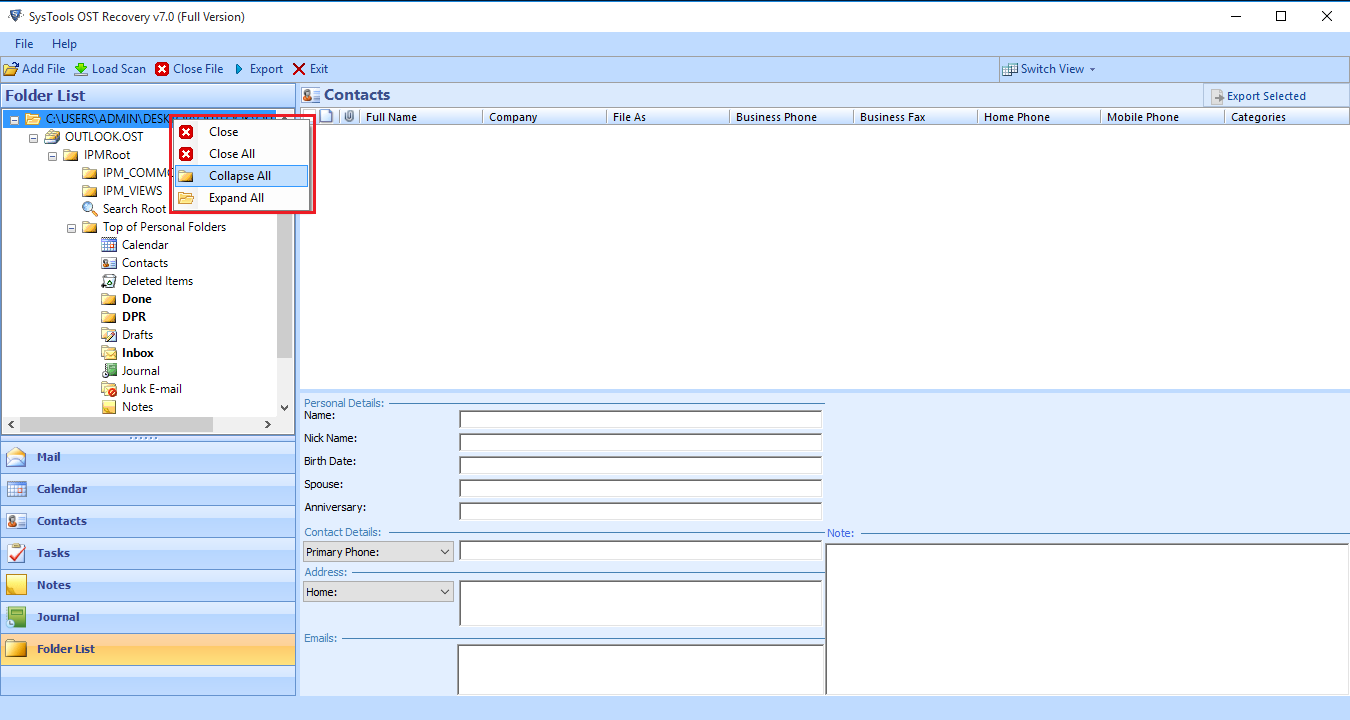
In the left hand side software panel dispalys the folder hierarchy of all loaded OST files. To collaspse them, right click in the panel, it provides option 'Collapse All'
The OST Recovery software displays deleted emails in Red Color in the preview panel, so that the user can easily identify the recovered deleted items from a OST file.
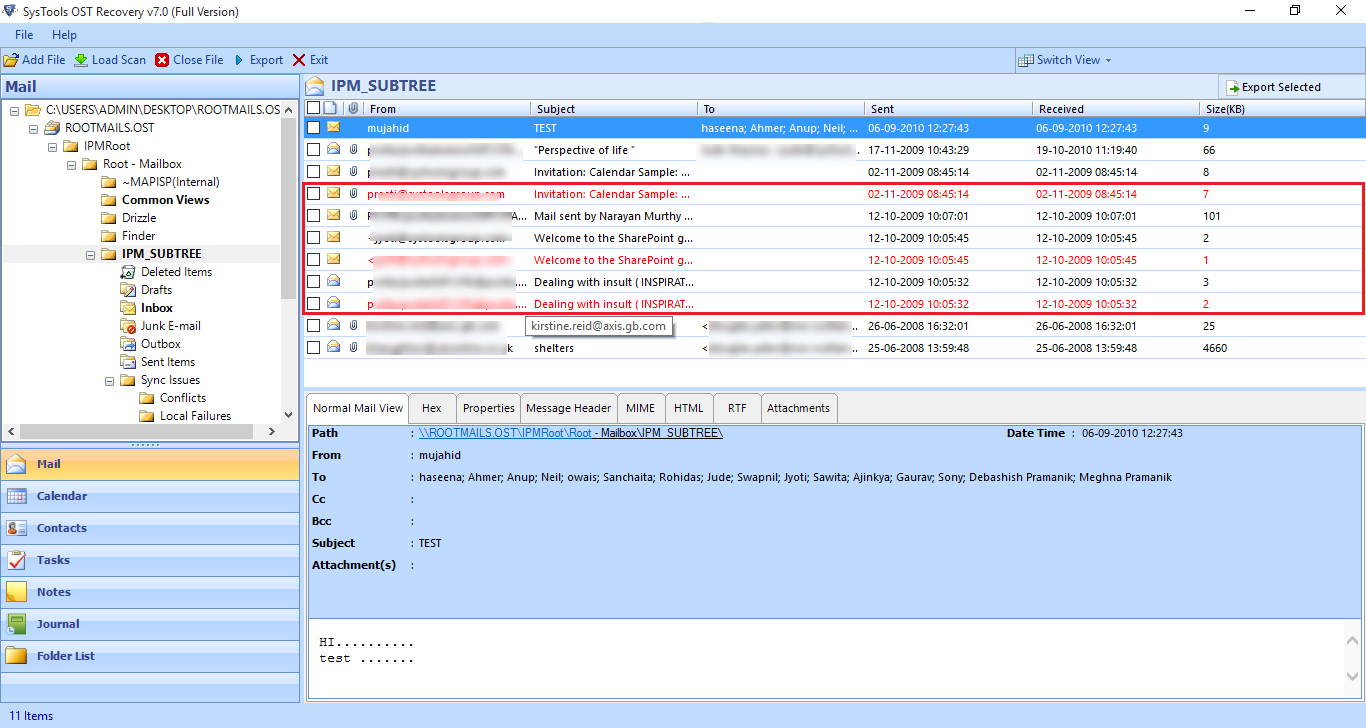
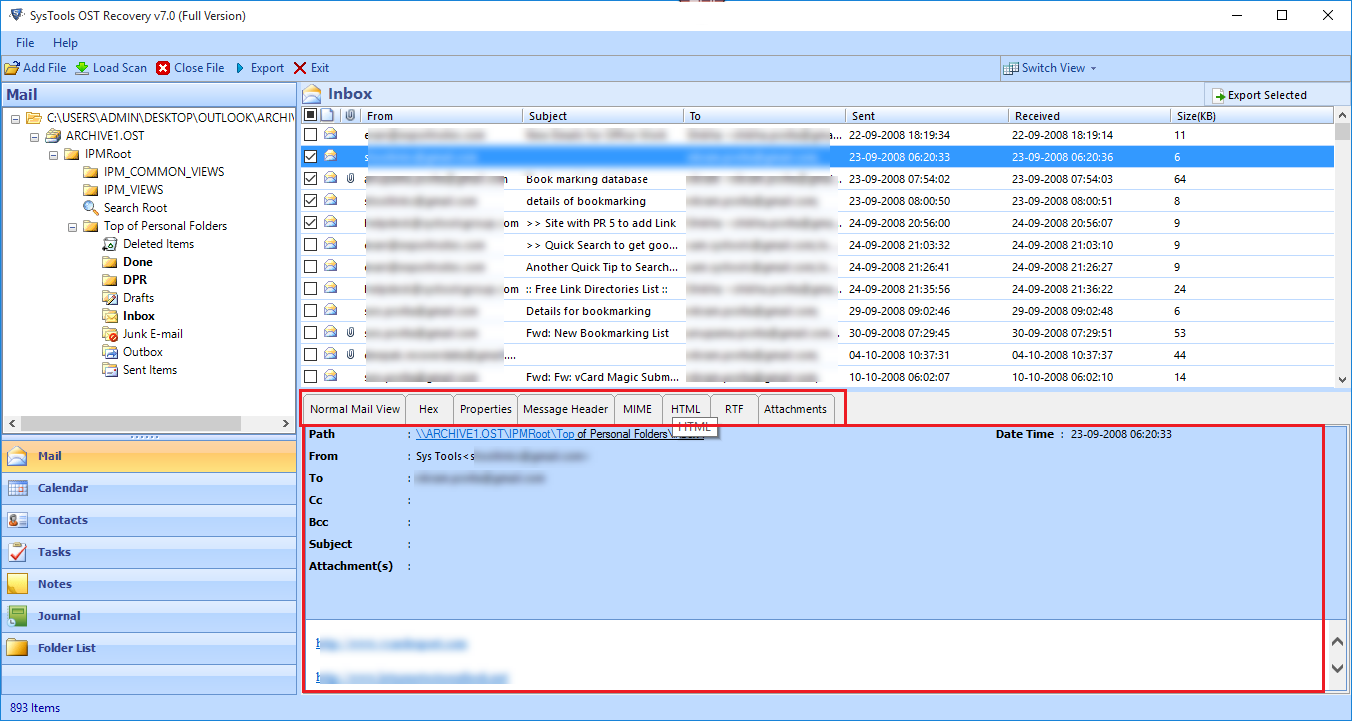
All OST file items can be previewed on the software interface in 8 different formats. They are Normal Mail View, Hex, Properties, Message Header, MIME, HTML, RTF and Attachments.
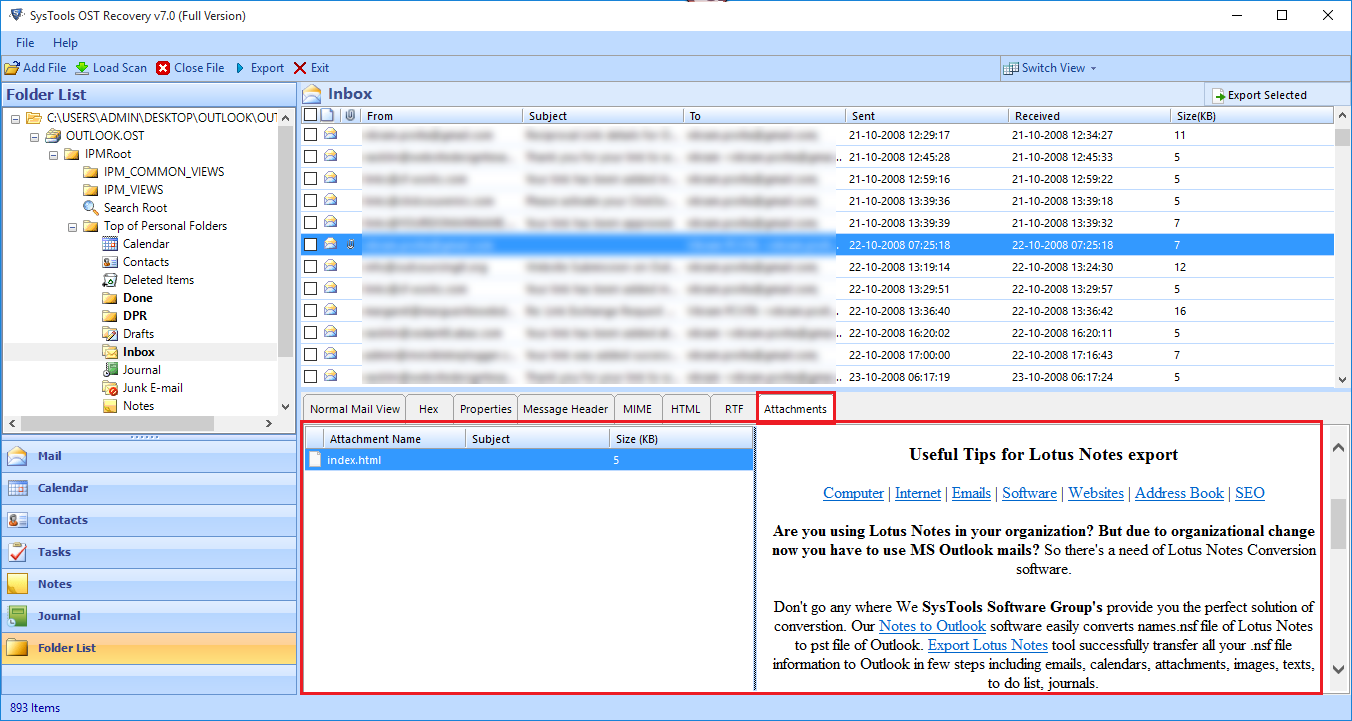
Attachments: Preview Attachments present inside a particular email by clicking on the Attachments tab. It displays the list of attachments along with details present in the same & upon selection, the attachment is previewed on the bottom right corner.
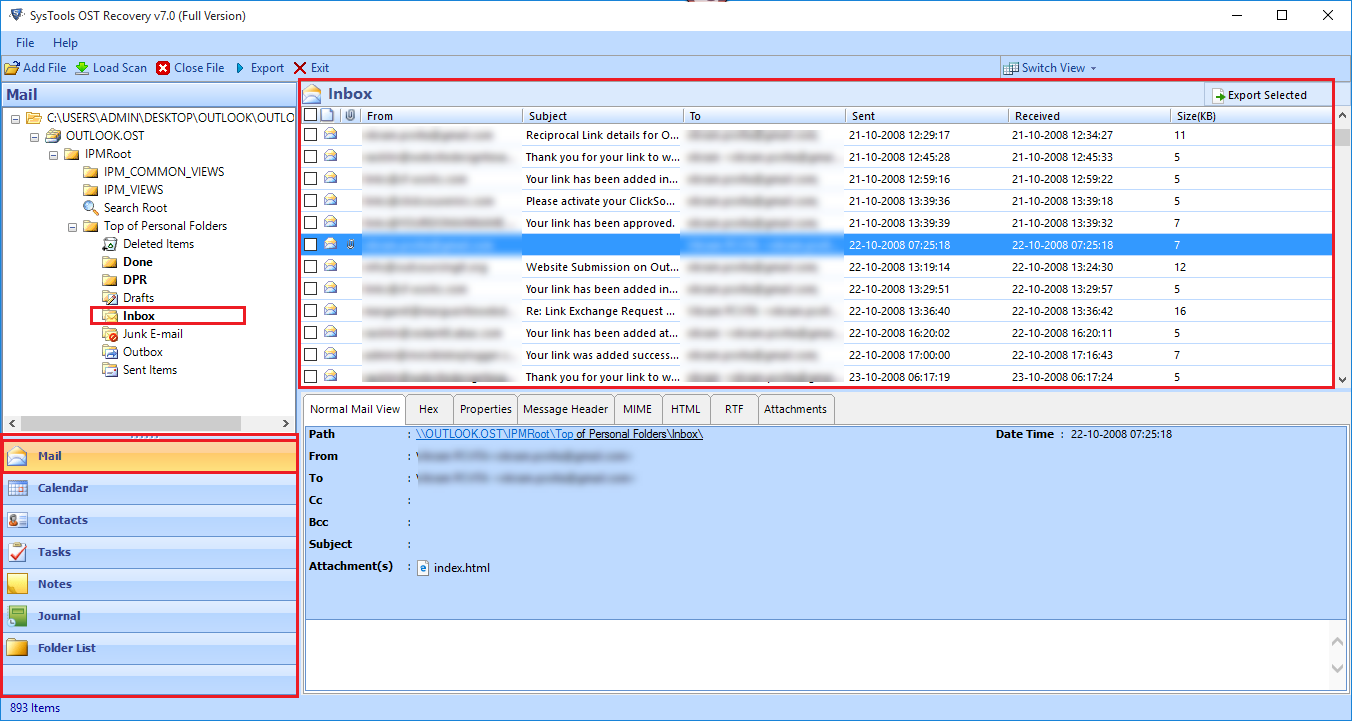
View Outlook OST File Items
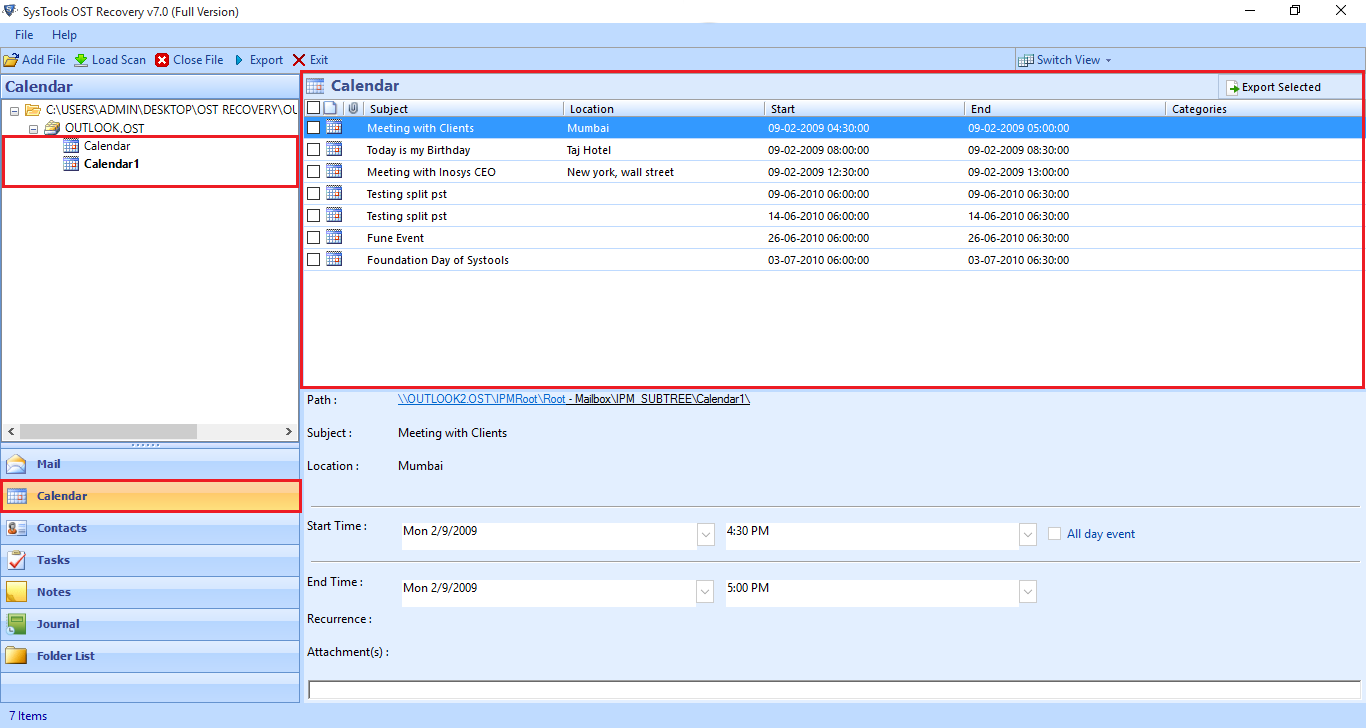
Now you can view all the folders and mailbox items. There are tabs: Mail, Calendar, Contacts, Notes, Journal and Folder list in the left side of the window to show specific OST file items.
Click on Mail to view only emails.
Click on Calendars tab to view events from all mailbox items.
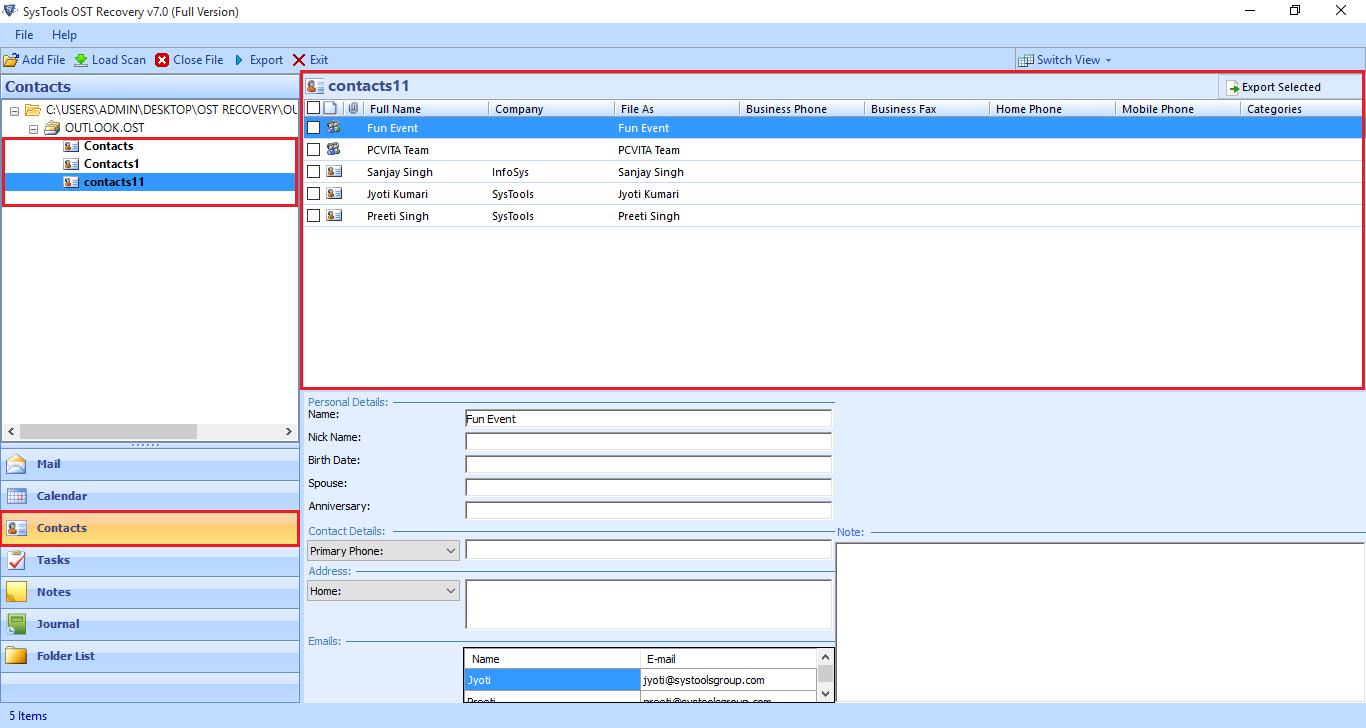
Click on Contacts tab to view the address book information in the OST file.
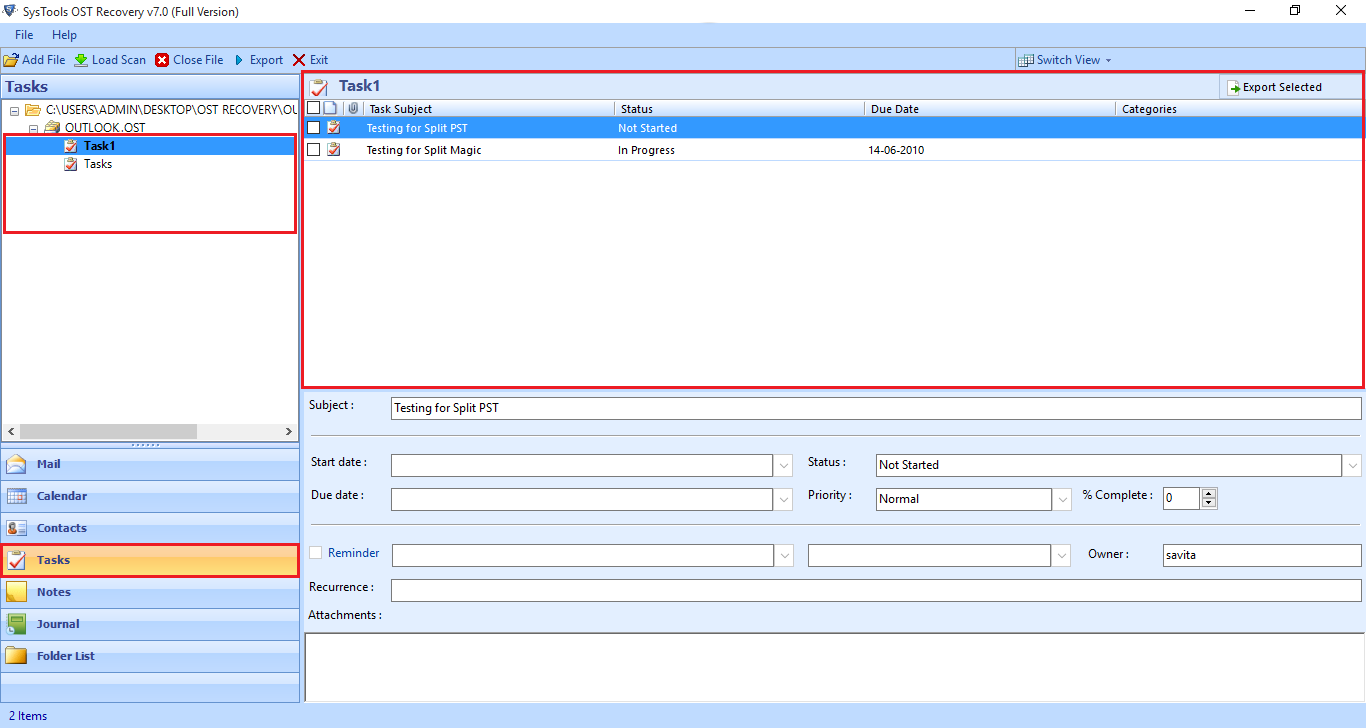
Click on Tasks tab to view all Tasks in the selected OST file.
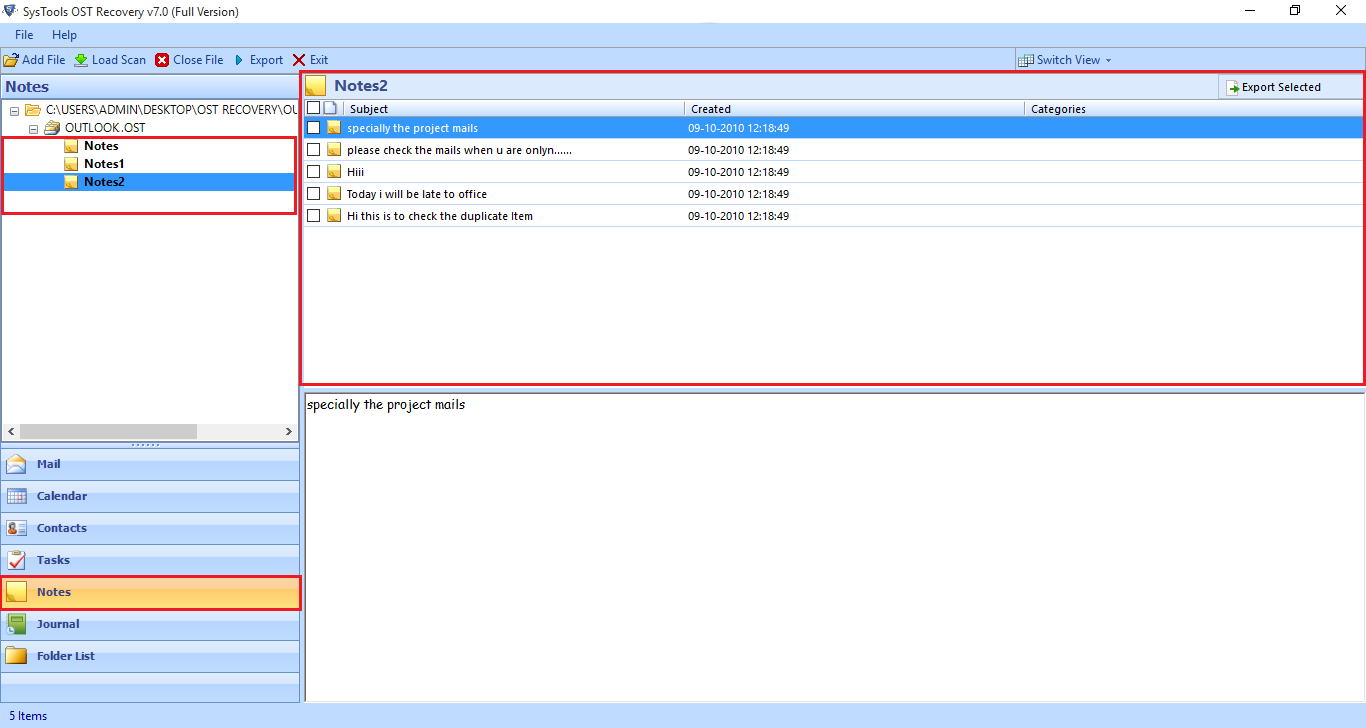
Click on Notes tab to view all Notes in the selected OST file.
Click on Journals tab to view all journals in the selected OST file.

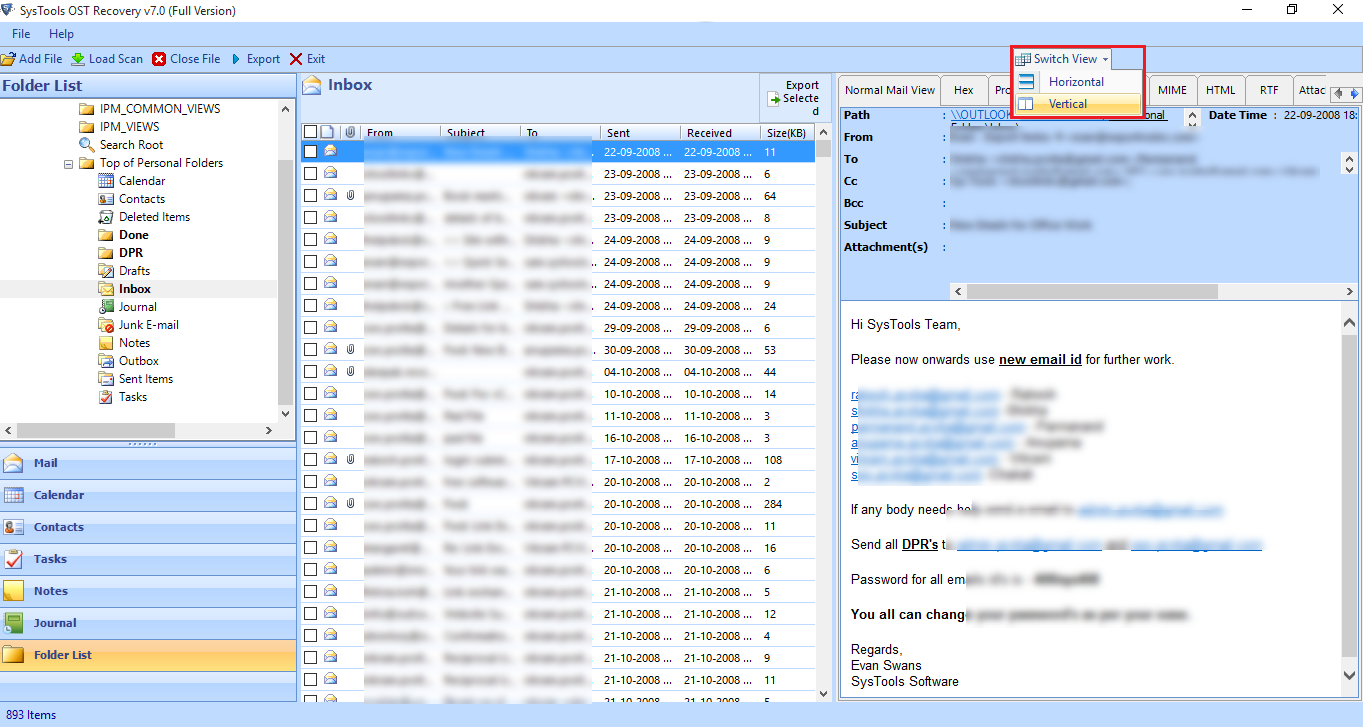
You can switch the display pane in two ways to get a better view of the email data details such as Horizontal & Vertical View. By default, the email data is displayed in Horizontal View. Press Vertical to view data in vertical panel.
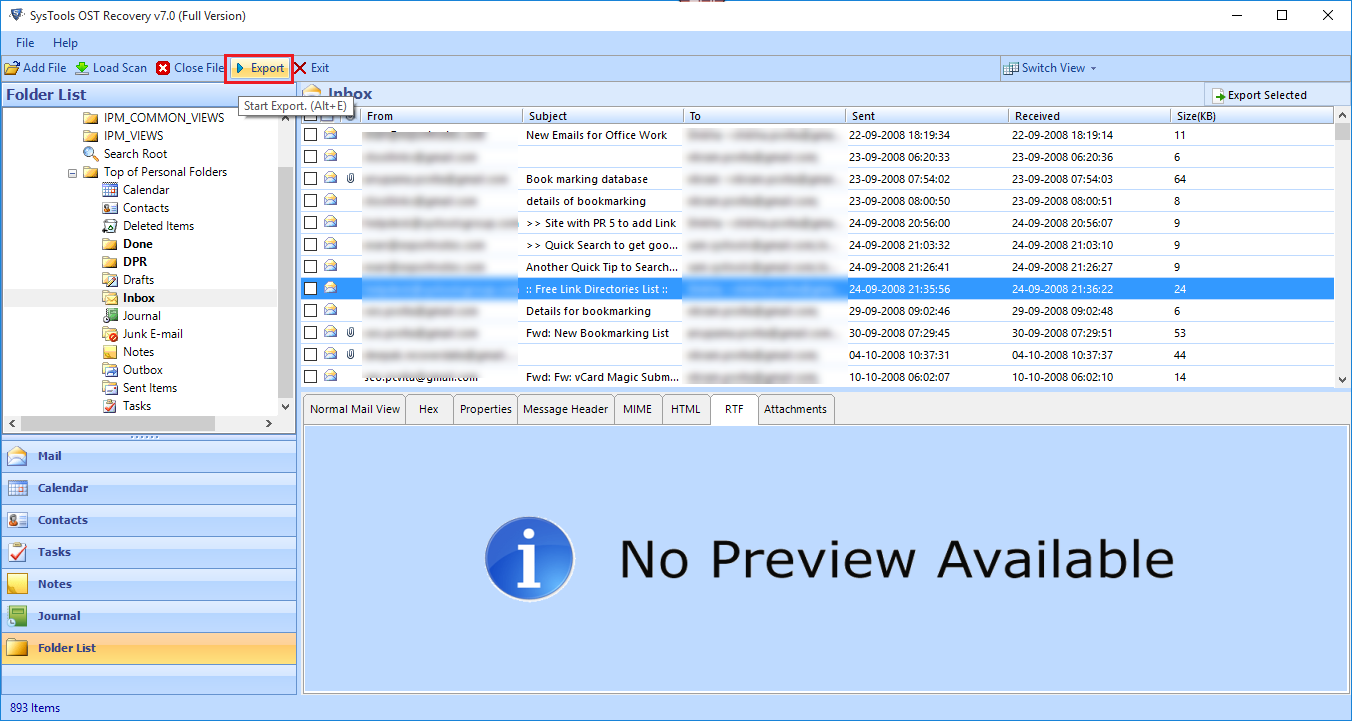
Select the Export Button to migrate all OST file data items together.
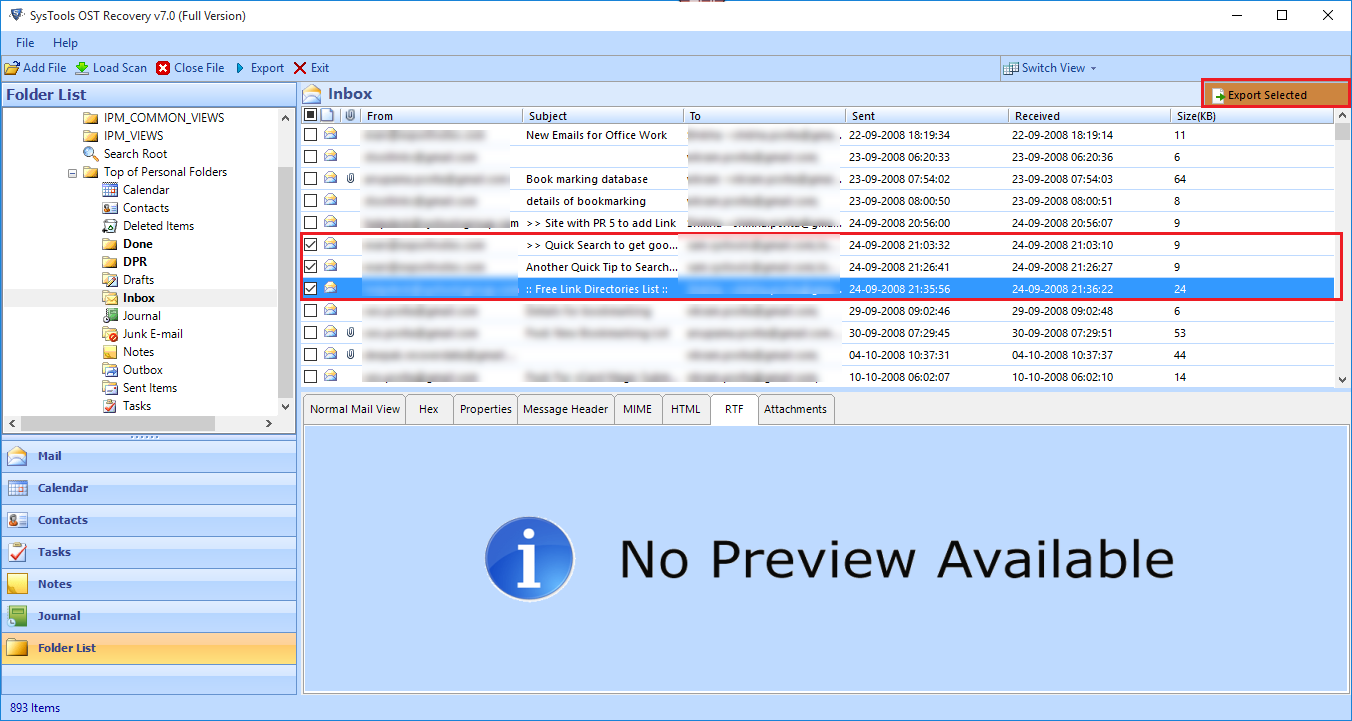
Or select the Export Selected option to migrate only particular selected files in an OST data file item.
-
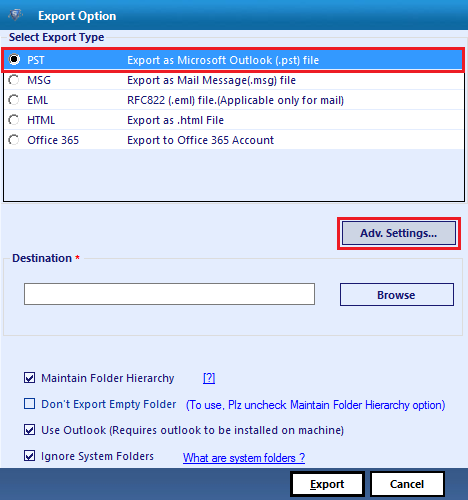
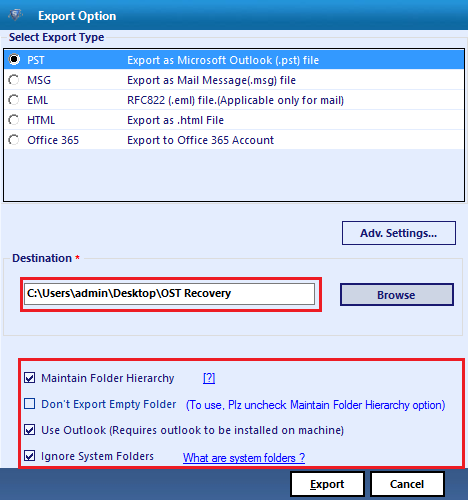
Export as PST Format
While the "PST" radio button is selected, Click on the "Advanced setting" button as shown below:
Now, Provide the following settings:
Split PST: To Split all the PST files using the size that can limit the size of the PST files.
Date filter option: This allows the user to migrate specific data according to the date from the OST files.
Categories: As per which we can export the specific components of the OST file such as mails, contacts, calendars, tasks, notes, and journals.
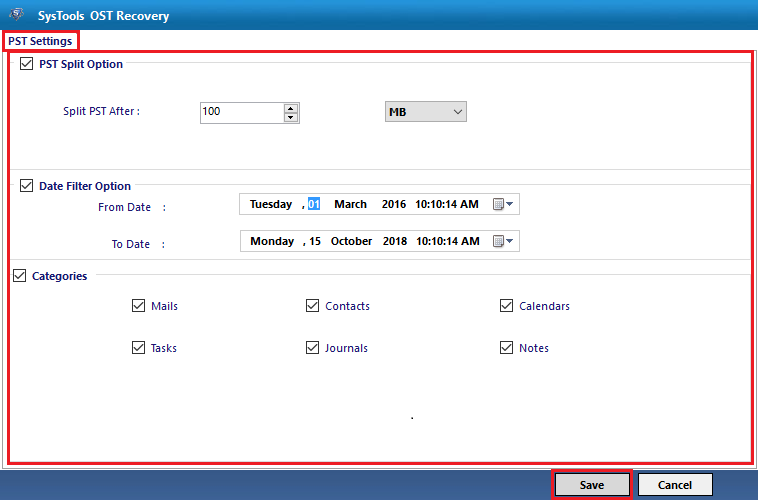
Once the settings have been specified, click on the "save" button.
Click OK when a pop-up message: Settings saved successfully' appears.
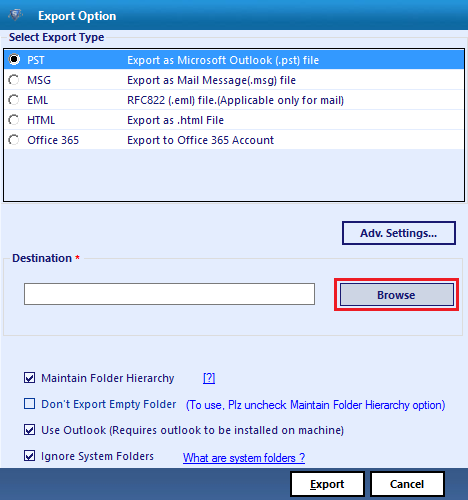
On the previous menu, Click on the "Browse" button to provide destination folder to save the resultant file/s.
Select the location as the final destination on the next window and click on "OK".
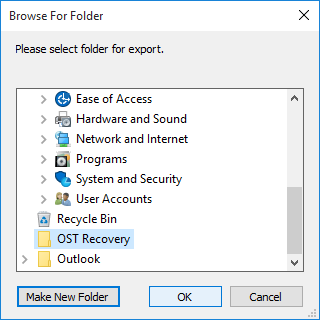
The Path of the file selected will be displayed in the corresponding text box to the "Browse" button.
Check "Maintain Folder Heirarchy" option to have same order of folders (with same name) as in source file in the resultant PST file generated.
Or check "Don't Export Empty Folders" after unchecking "Maintain Folder Heirarchy" to avoid empty folders in resultant PST file generated.
Click on "Export" button to save the previewed items in PST file format.
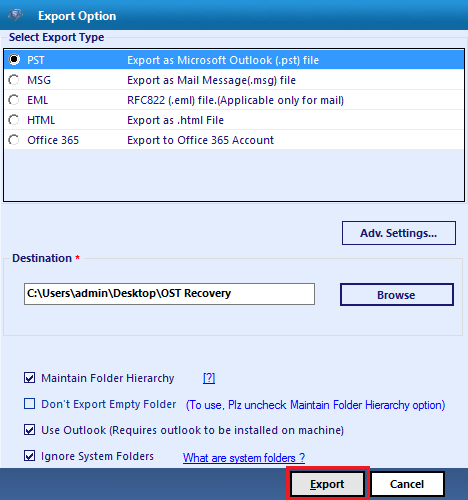
Click on "Export" button to save the previewed items in PST file format.
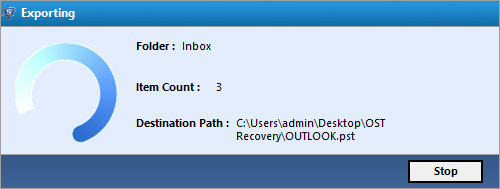
The software will start the export process now.
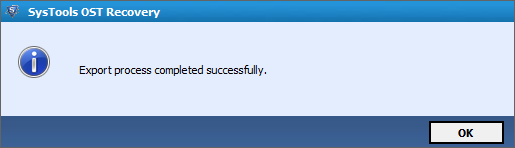
Once the export process is complete, Then the following message would be prompted. Click on "OK".
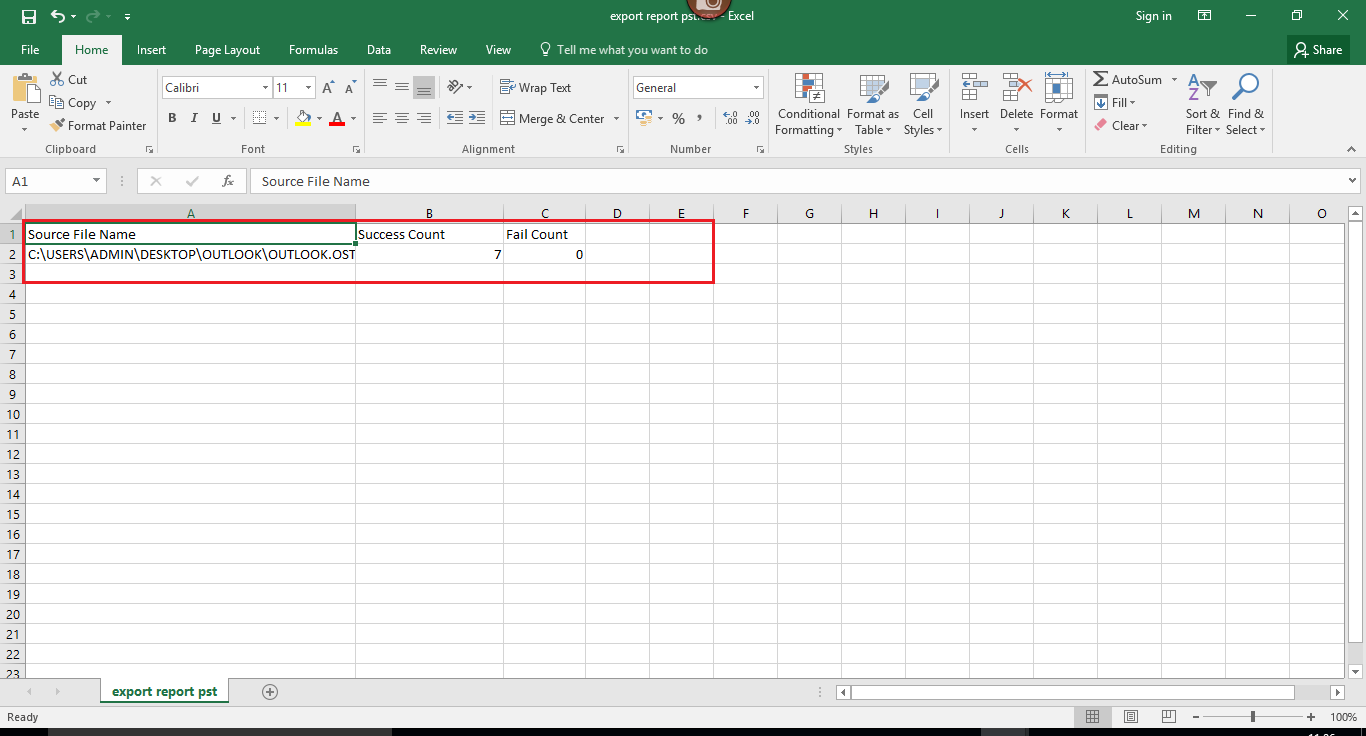
The following window will show the success as well as fail count as follows:
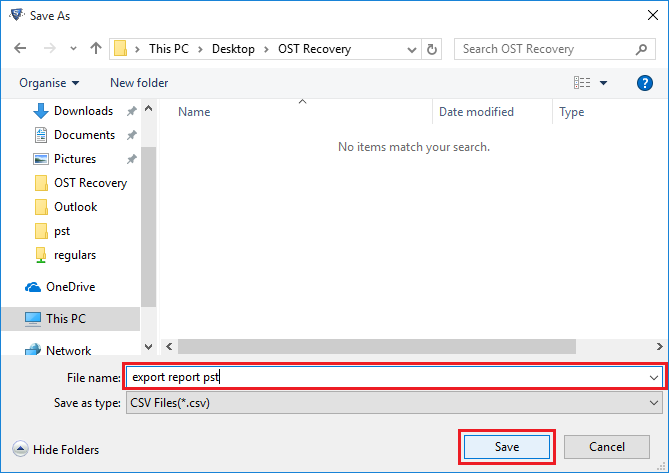
Click on the "Save" Button to Save Export Report in the CSV file format.

Now, Specify the location where the CSV file can be saved. And click on the "Save" button.
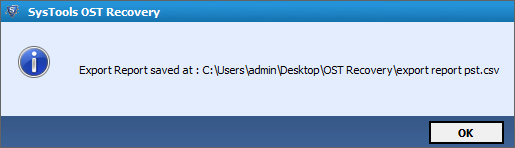
The following prompt will be generated as follows as the report is saved successfully. Press OK.
-
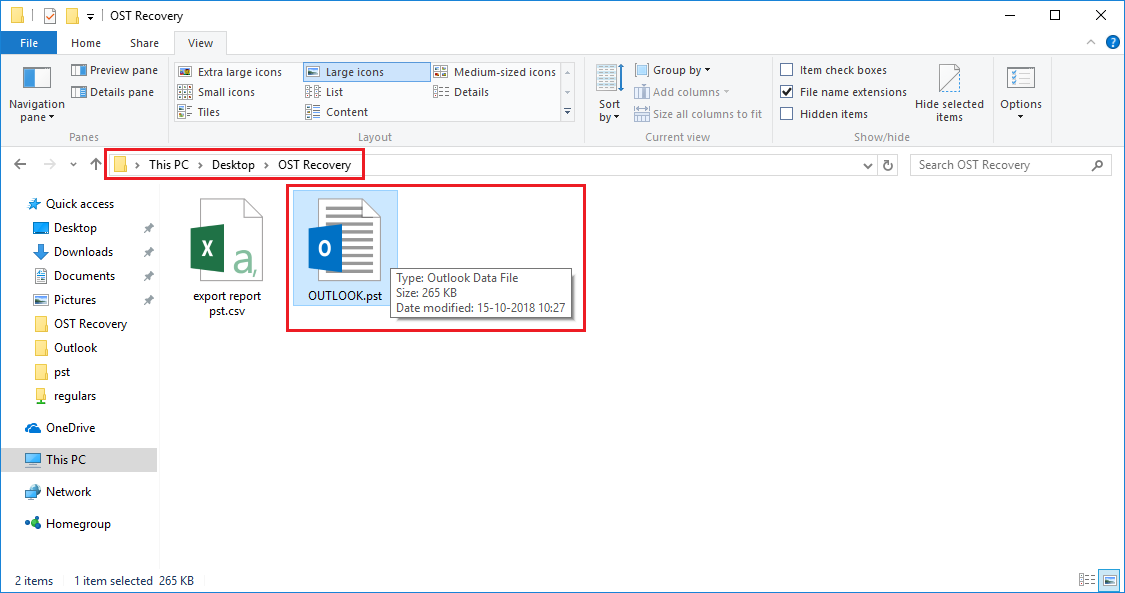
Now, You can preview the Export Report of the whole process in the CSV file from the proposed destination location.
You can View Final PST file/s in the specific destination location provided by the user.